DIY Outdoor Garden Table Ideas
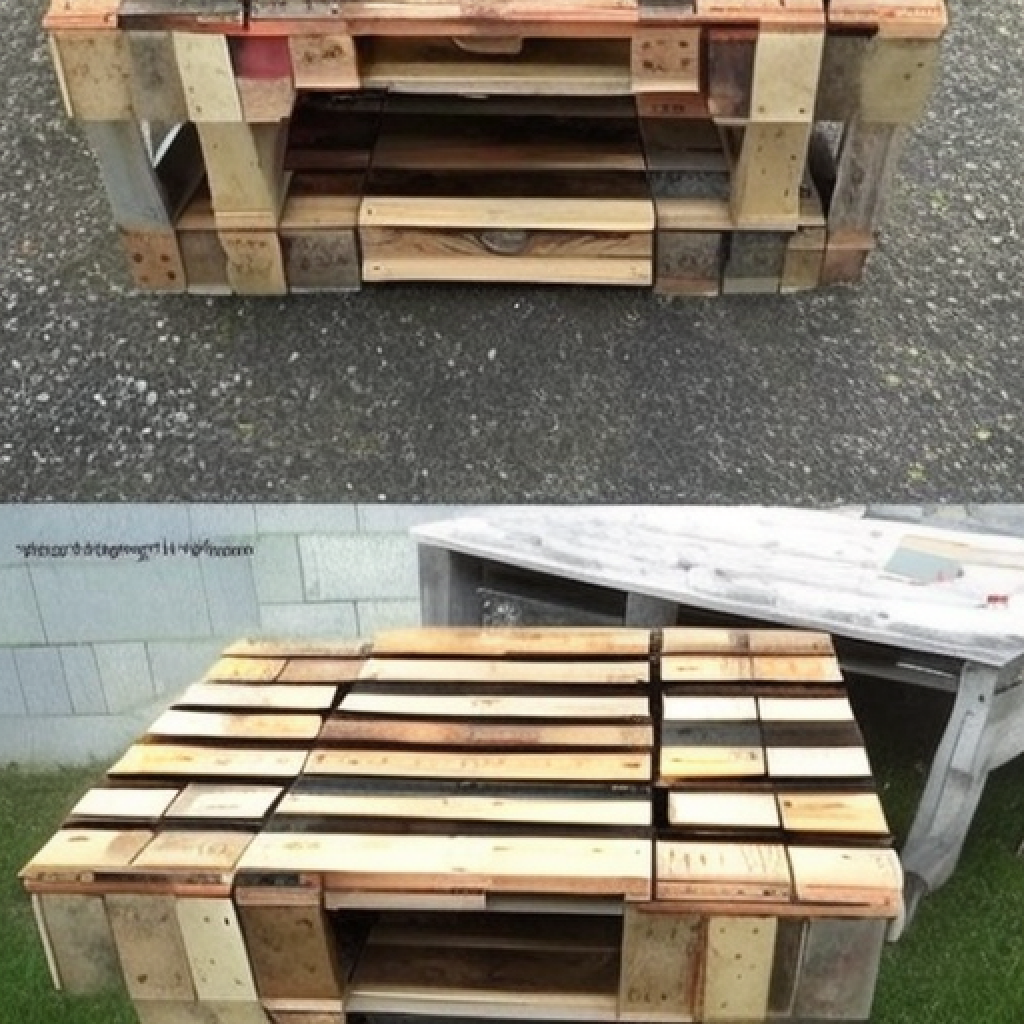
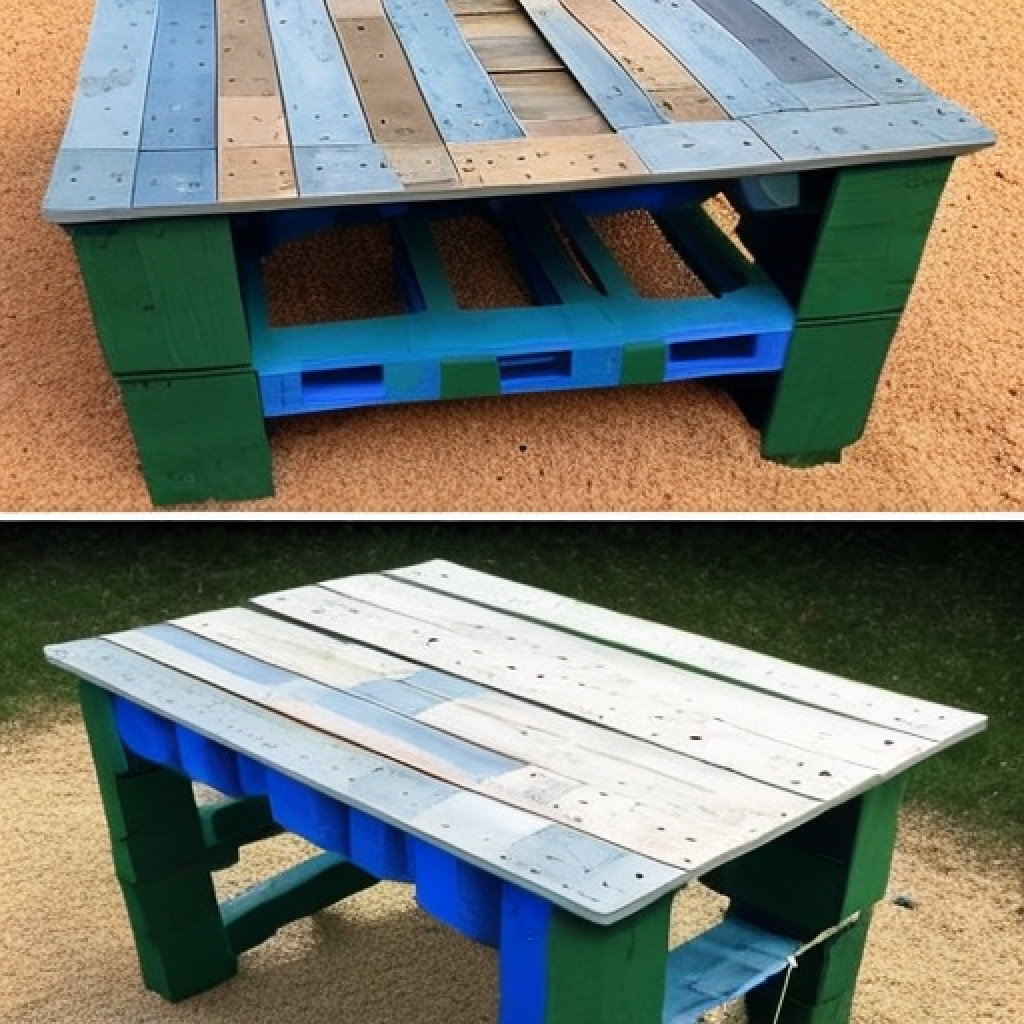
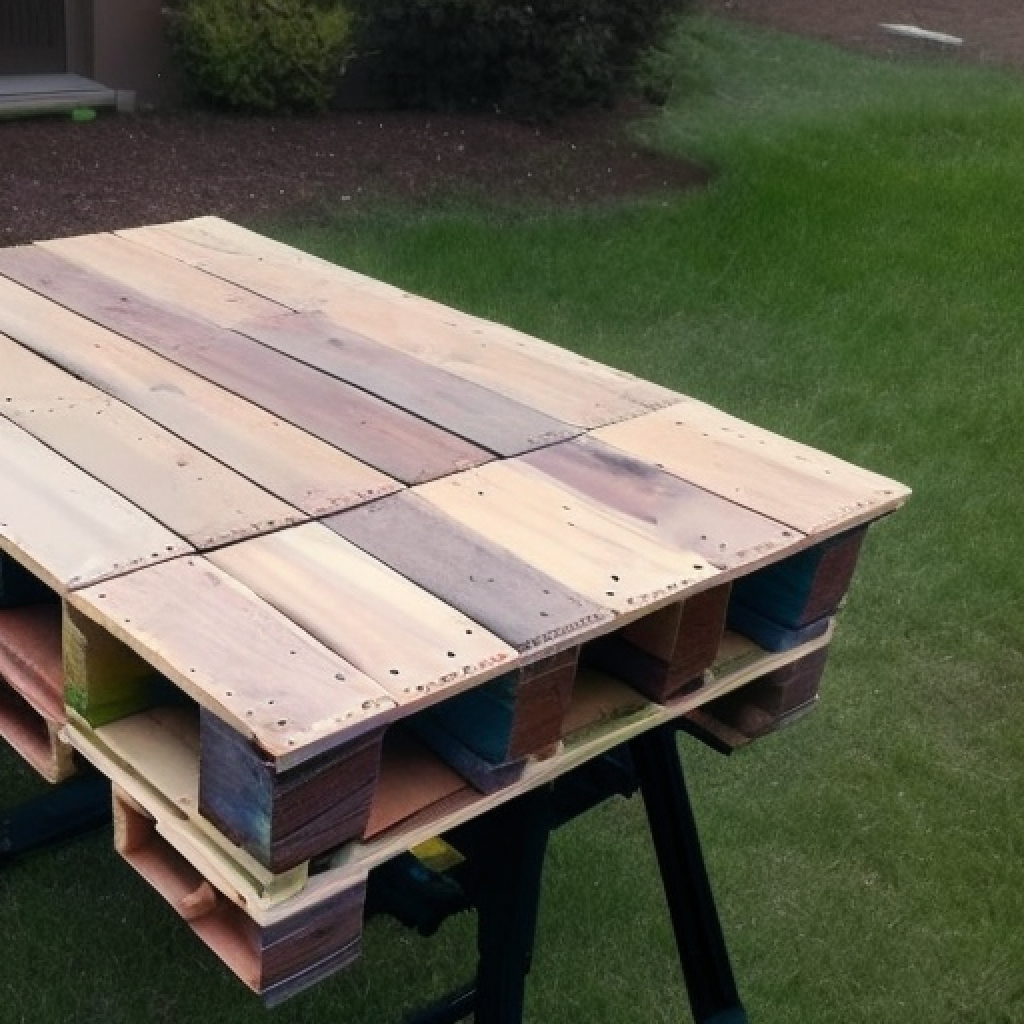
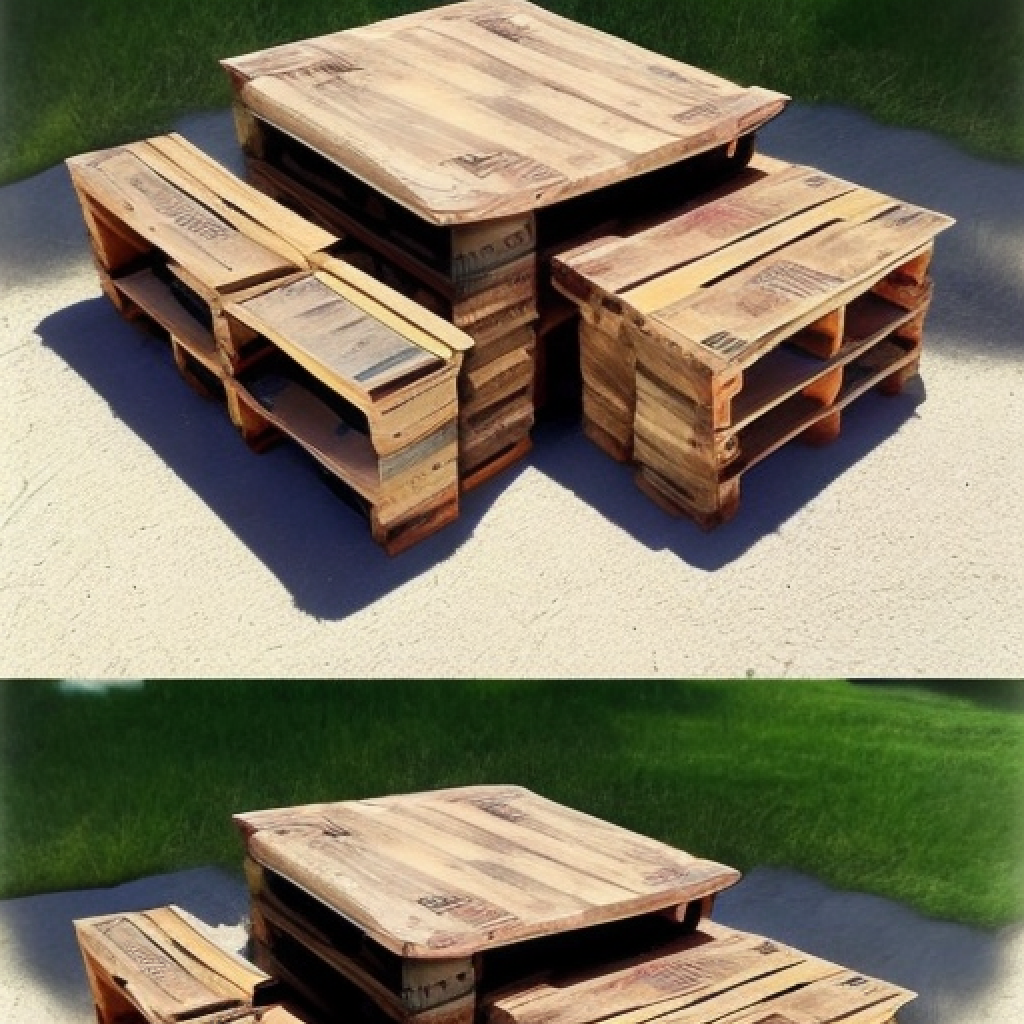
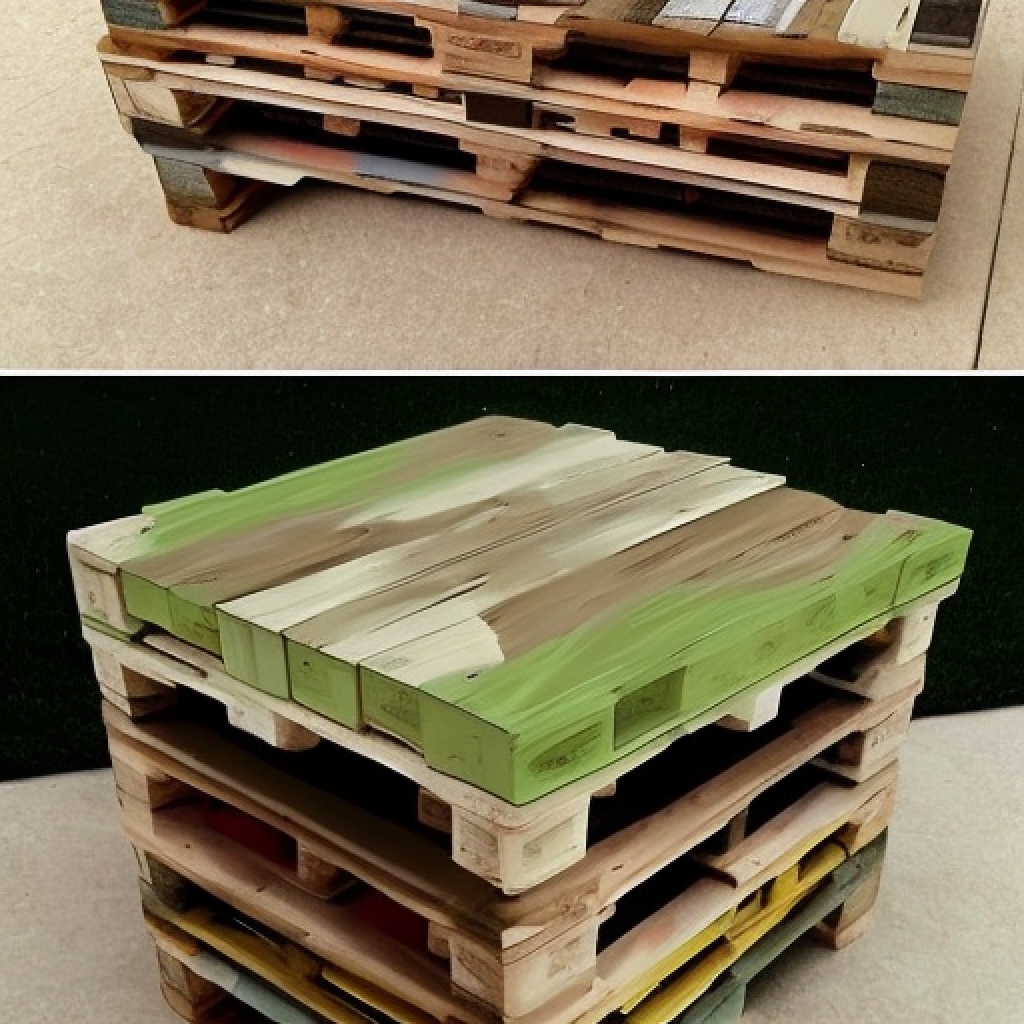
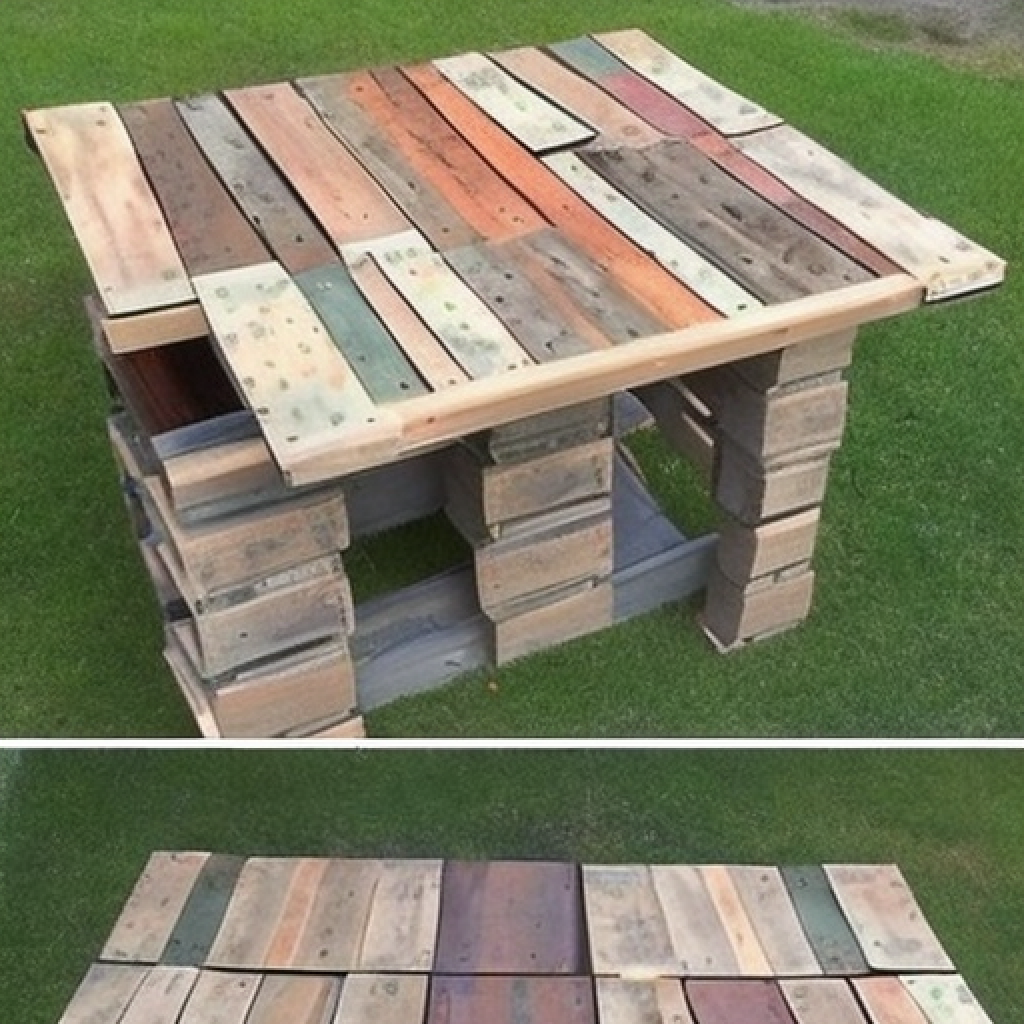
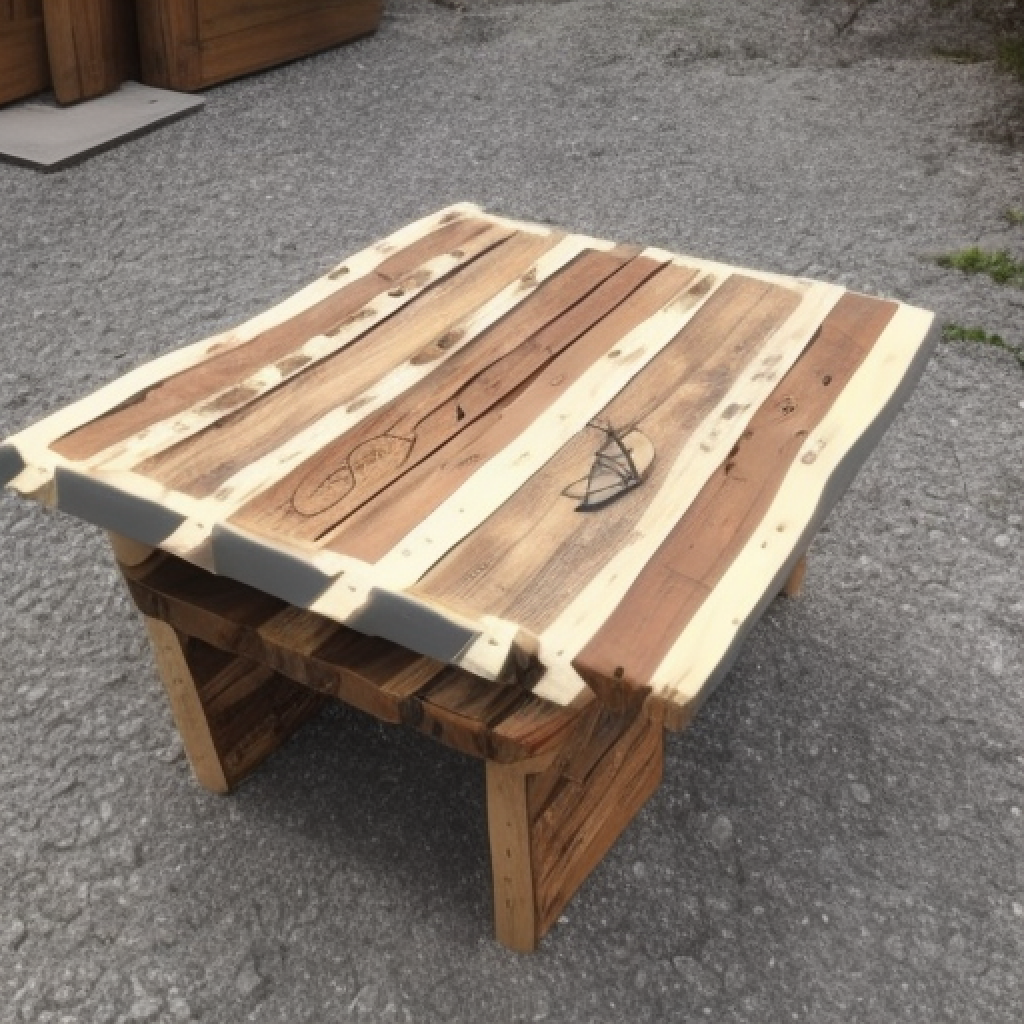
Creating furniture is a fun and creative way to add a personal touch to your home or outdoor space. And what better way to do so than by using recycled materials? One such example is to make a pallet table. Pallets are a great material to work with as they are sturdy and versatile. They also provide a unique rustic look that can add character to any space. To make an outdoor pallet table, start by selecting pallets that are in good condition. Look for pallets that are uniform in size and have no broken boards. You can often find pallets for free at local businesses or online classifieds. Once you have your pallets, clean them up and remove any loose nails or staples. Next, stack two or three pallets on top of each other. Make sure they are lined up evenly and secure them together using screws. You can also reinforce the corners with metal brackets for extra stability. After securing the pallets, it’s time to sand down the surface to remove any rough edges or splinters. This step is crucial to ensure a smooth and even surface for your table. Once sanded, you can paint the pallets with a coat of your choice of color. This will help protect the wood from the elements and give your table a finished look. To further personalize your pallet table, you can add a glass top or even add wheels to make it mobile. You can also decorate the table with potted plants, lanterns, or other outdoor decor. In addition to being an eco-friendly and cost-effective option, making a pallet table can also be a fun weekend project for the whole family. It’s a great way to get creative and add a unique touch to your outdoor space. So why not give it a try, and see what kind of pallet table you can create!
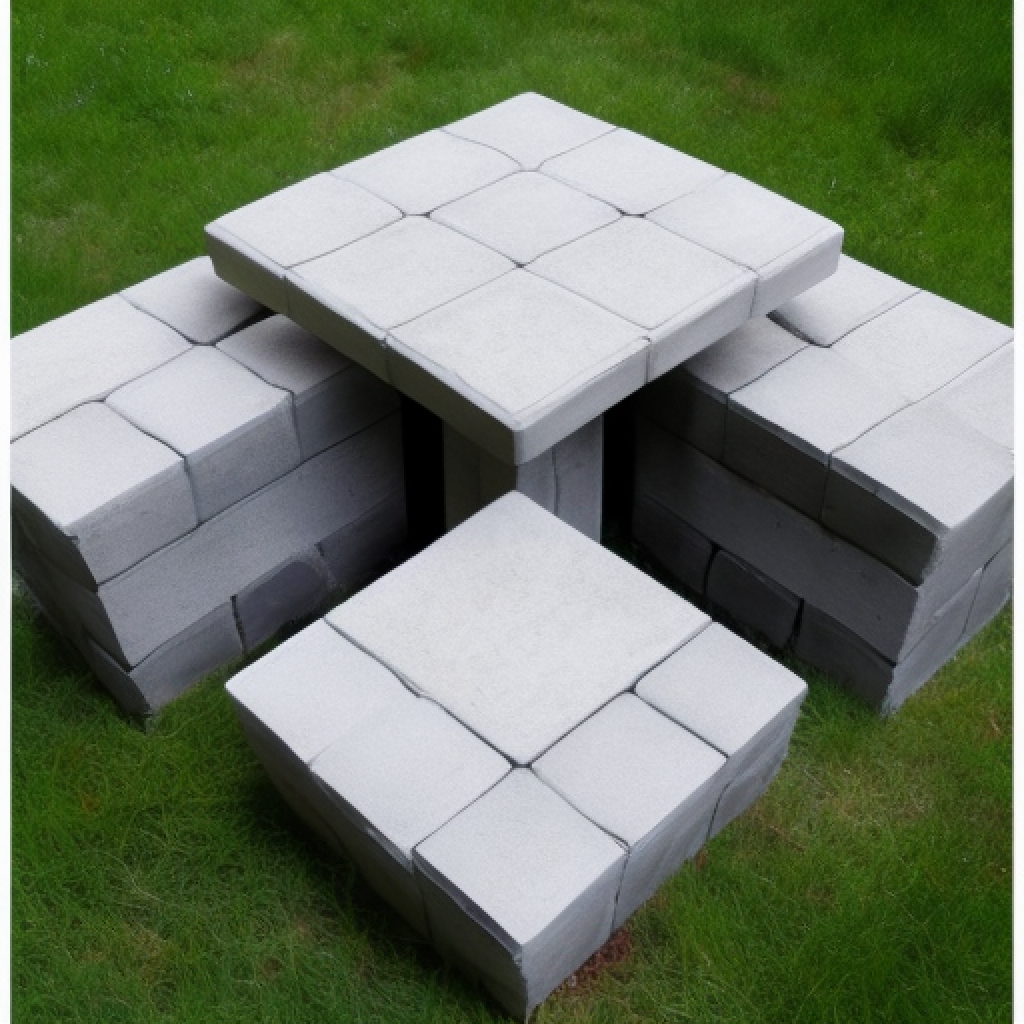
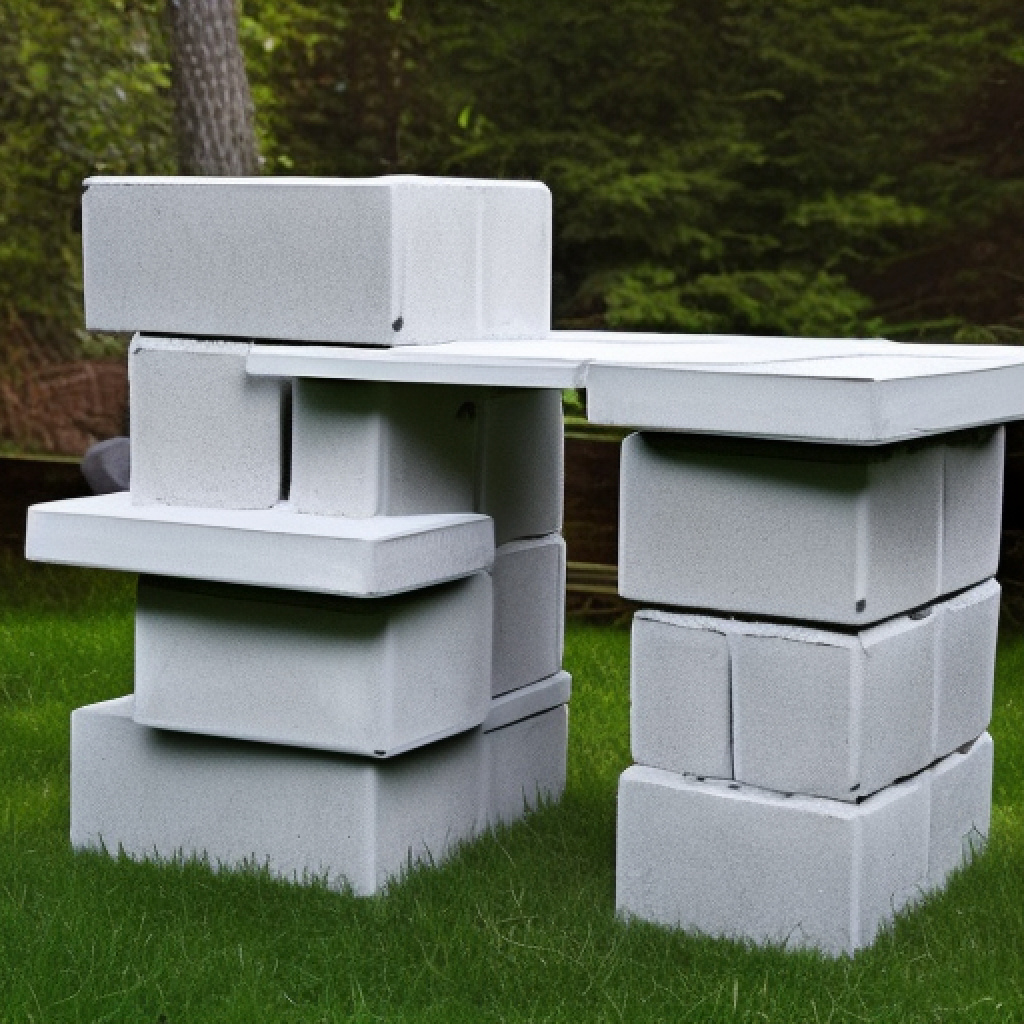
Are you looking for a budget-friendly way to spruce up your outdoor space? Look no further than a DIY cinder block table! With just a few simple materials, you can create a unique and sturdy table that is perfect for outdoor gatherings or even as a potting bench. First, gather your supplies. You will need cinder blocks, wooden planks or boards, and outdoor adhesive. The amount of each material you need will depend on the size of the table you want to create. Begin by laying out your cinder blocks in the shape of a rectangle or square, depending on the desired size of your table. Stack the blocks on top of each other to create the legs of the table. You can leave them as is, or paint them with outdoor paint to add a pop of color to your outdoor space. Next, measure the length and width of the cinder block base, and cut your wooden planks to fit on top. You can use one large plank for a simple look, or multiple smaller planks for a more intricate design. Using outdoor adhesive, attach the wooden planks to the top of the cinder block base. Be sure to apply the adhesive evenly to ensure the planks are securely attached. Once the adhesive has dried, your table is ready to use! You can decorate it with potted plants, string lights, or even a tablecloth to add some personality. Not only is a cinder block table a cost-effective way to add some style to your outdoor space, but it is also incredibly versatile. You can customize the size and design to fit your specific needs, making it a perfect addition to any backyard or garden.
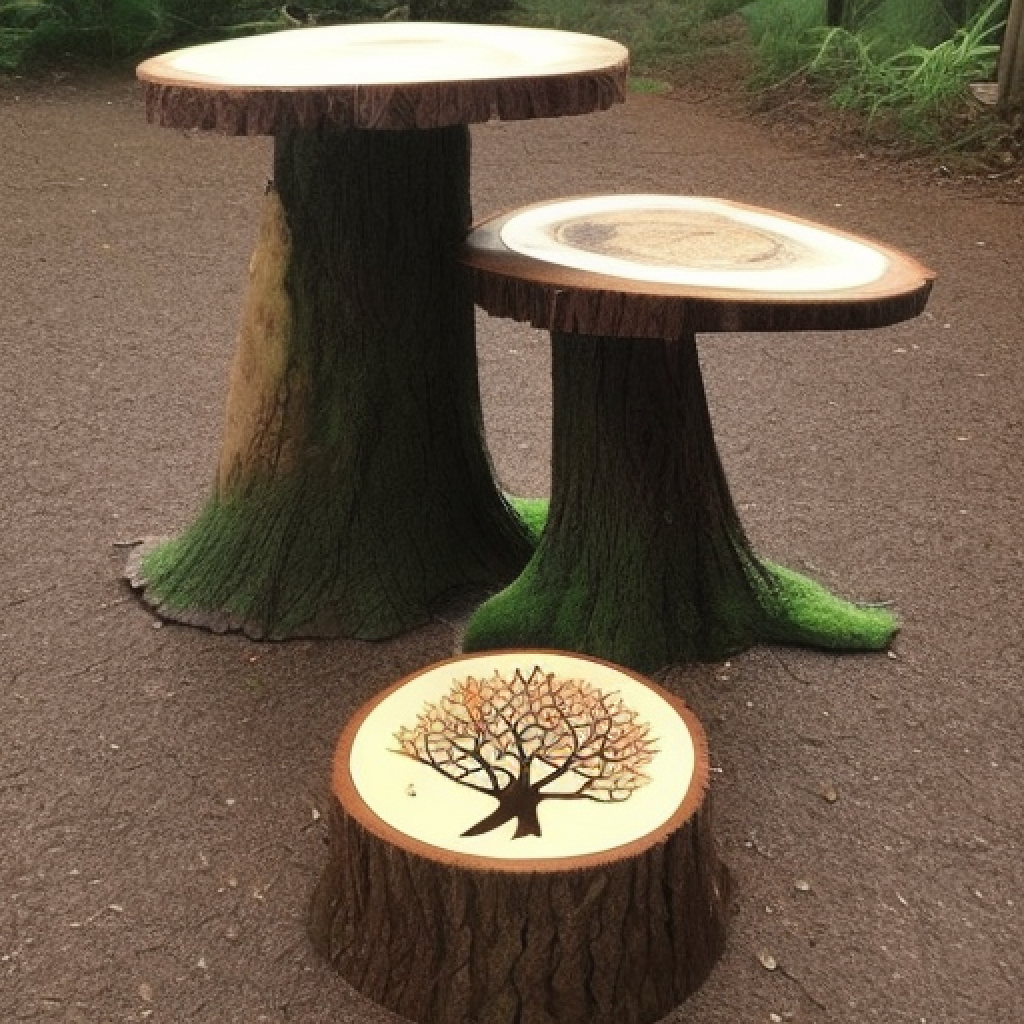
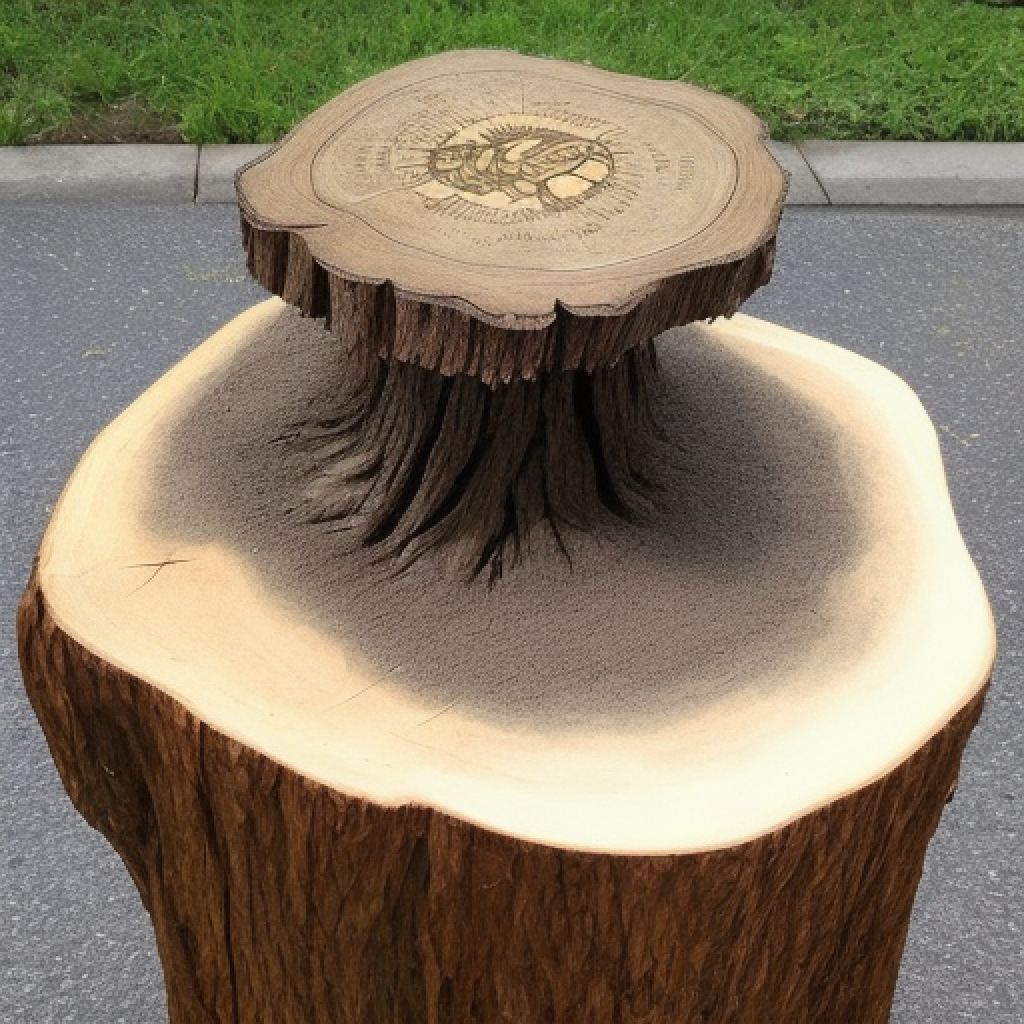
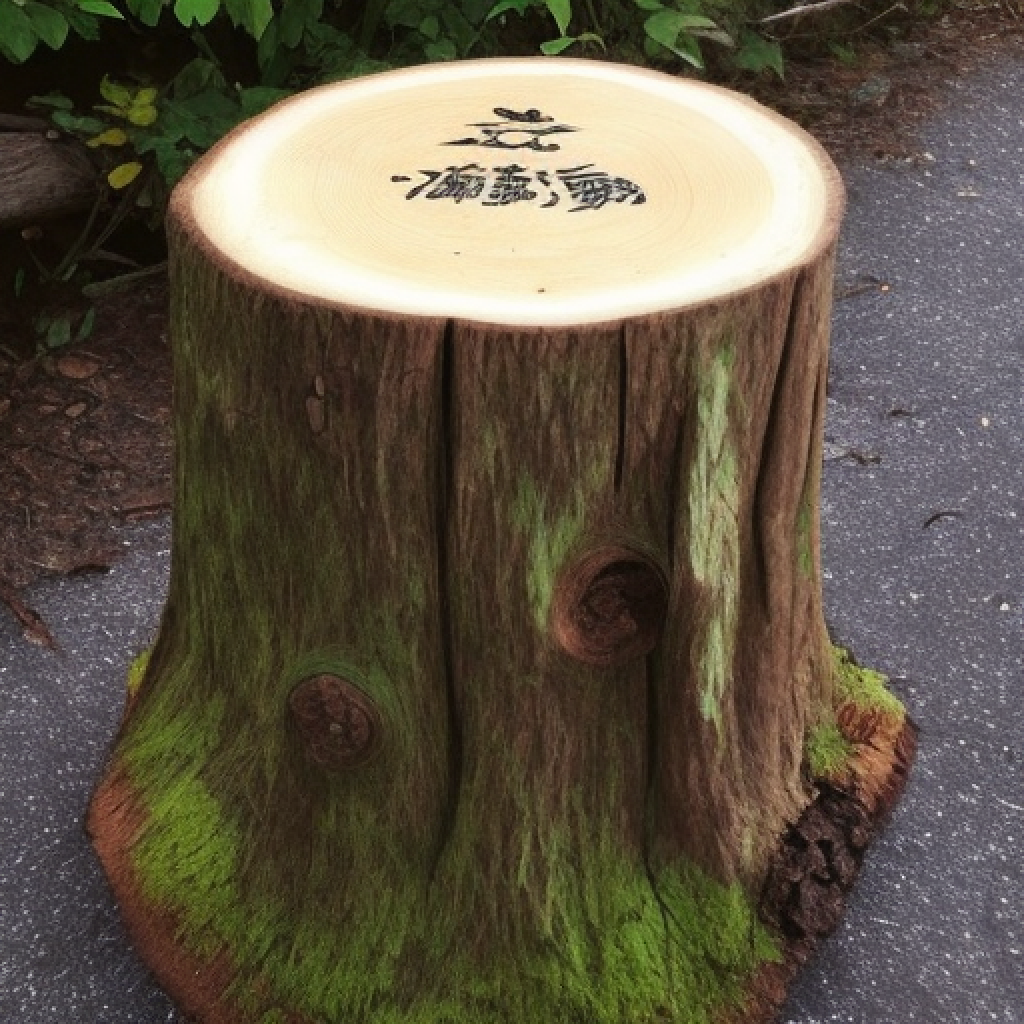
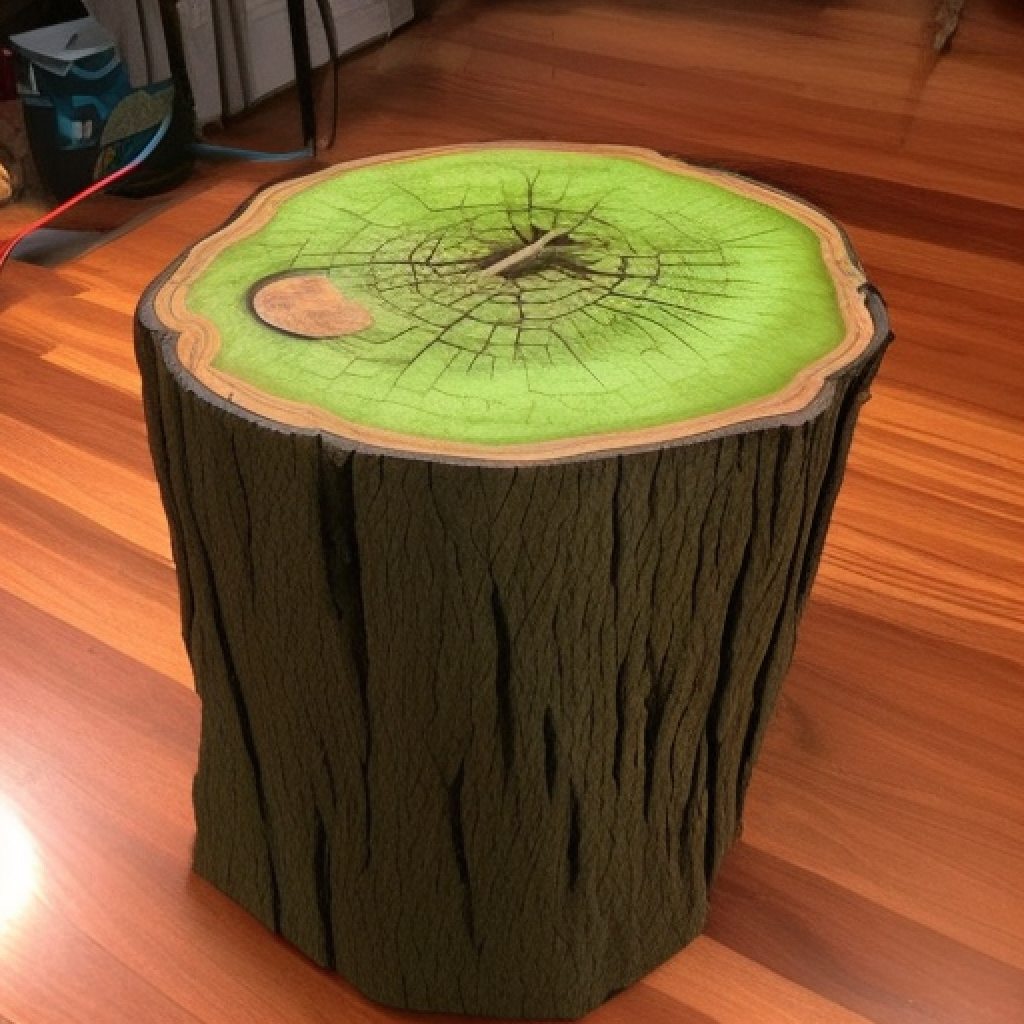
Using a tree stump as a base for an outdoor garden table is an excellent way of bringing a touch of nature into your home decor. Tree stump tables are not only practical but unique, adding a rustic charm to your outdoor living space. Not to mention, they are environmentally friendly, as they repurpose something that would otherwise be considered waste. When selecting a tree stump, it’s essential to choose one that’s sturdy and has a flat surface. If the surface is uneven, it can be sanded down to create a flat surface. Once you’ve determined the right stump for your table, you can begin the sanding process. Sanding the stump’s surface will create a smooth and polished finish, preparing it for a coat of varnish. The varnish will add durability and protection to the surface, making it resistant to weather and other outdoor elements. After applying the varnish, you can place a glass top on the stump to create a flat surface, ideal for placing drinks or snacks. Glass tops come in different shapes and sizes, allowing you to customize your table to your liking. You can choose a round or square glass top, depending on the stump’s size and shape. A glass top also provides a clear view of the tree stump, showcasing its natural beauty. Tree stump tables are versatile and can be used in various outdoor spaces, including patios, gardens, or even pool areas. They blend well with other outdoor furniture pieces and add an element of texture and depth to a space. Additionally, they can be used as a side table, coffee table, or even a dining table, depending on the size of the stump. In conclusion, using a tree stump as a base for an outdoor garden table is a creative and practical way to decorate your outdoor living space. It’s an environmentally friendly option that repurposes a natural resource while adding a rustic charm to your home decor. With the right selection, preparation, and finishing, a tree stump table can be a beautiful addition to any outdoor space.
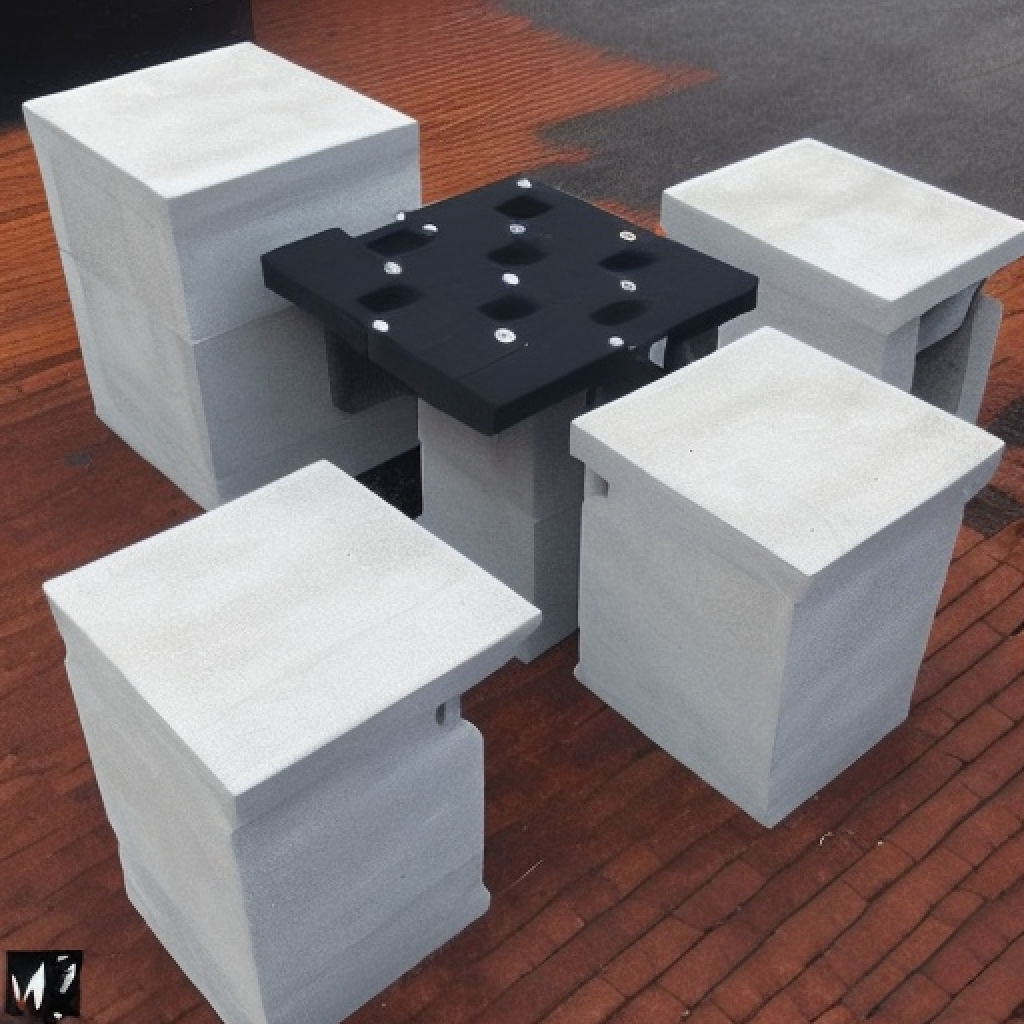
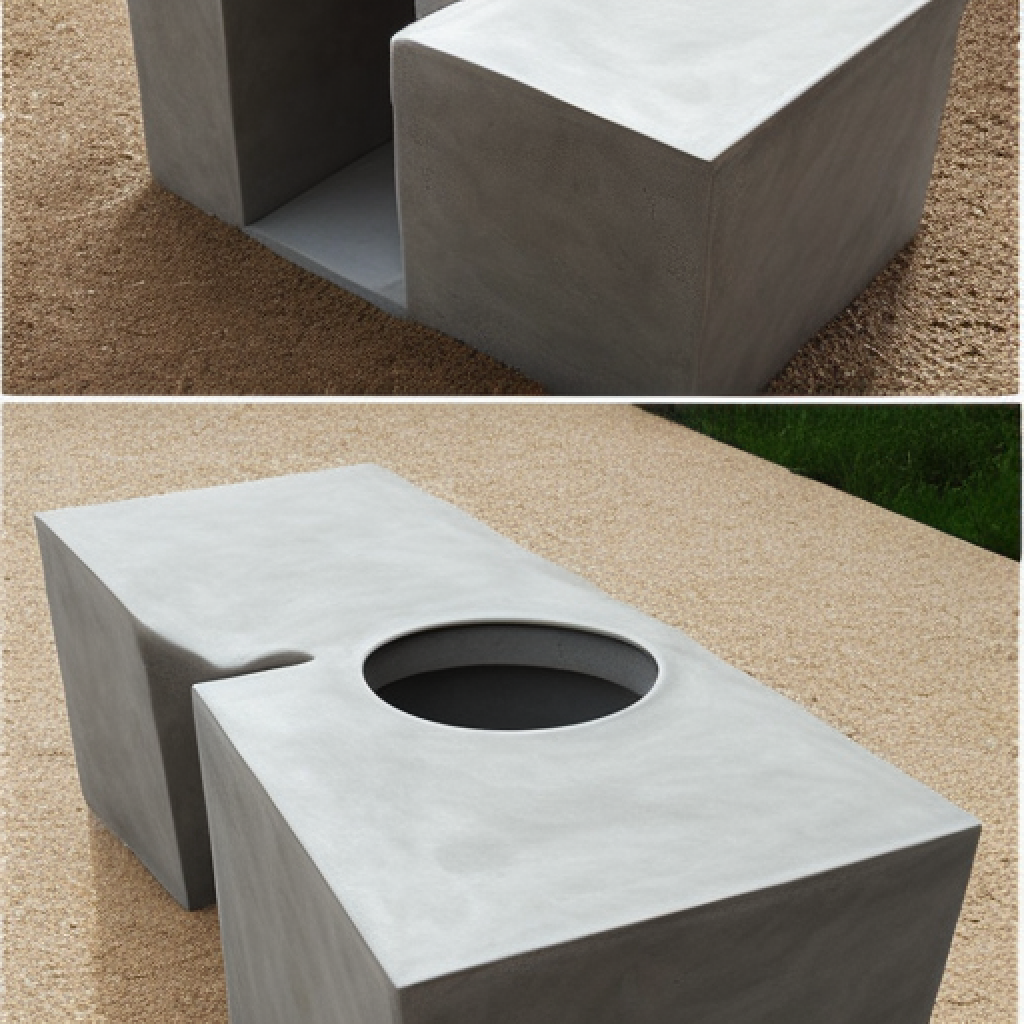
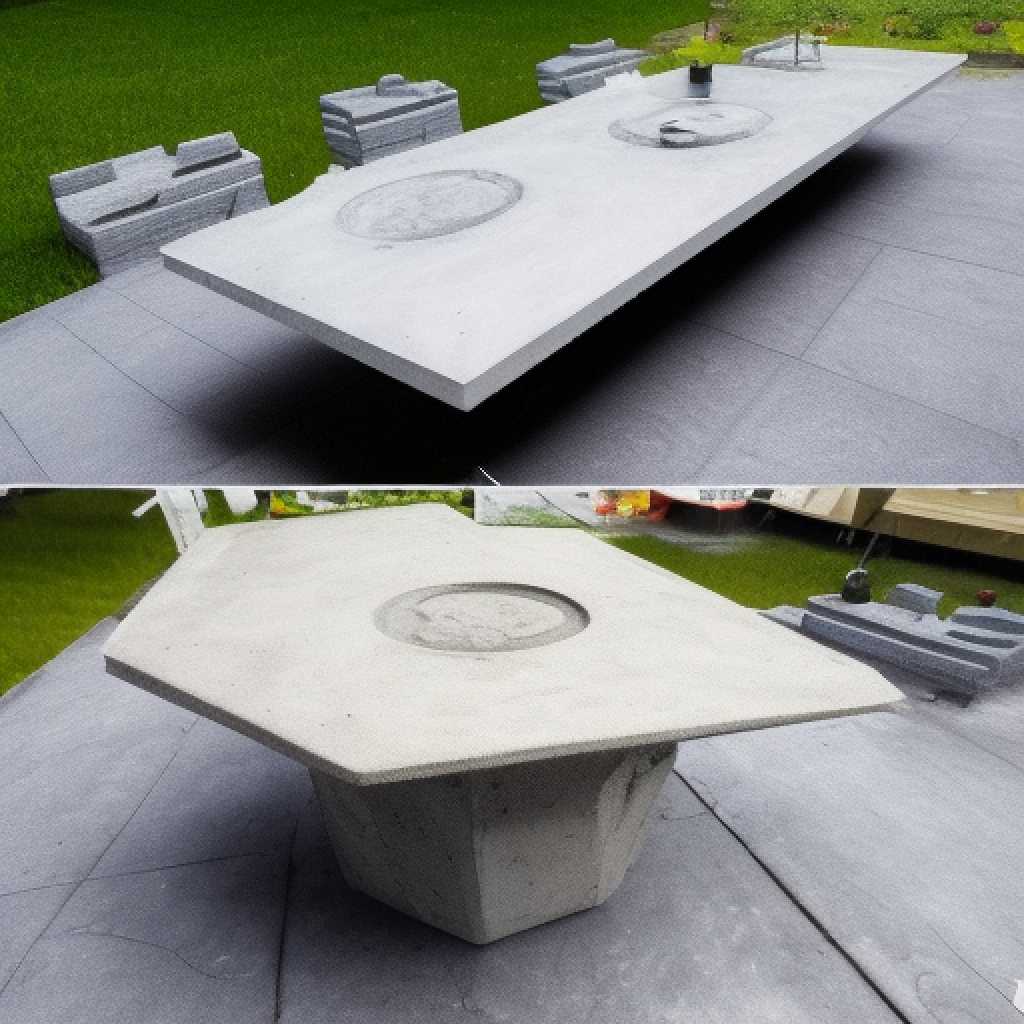
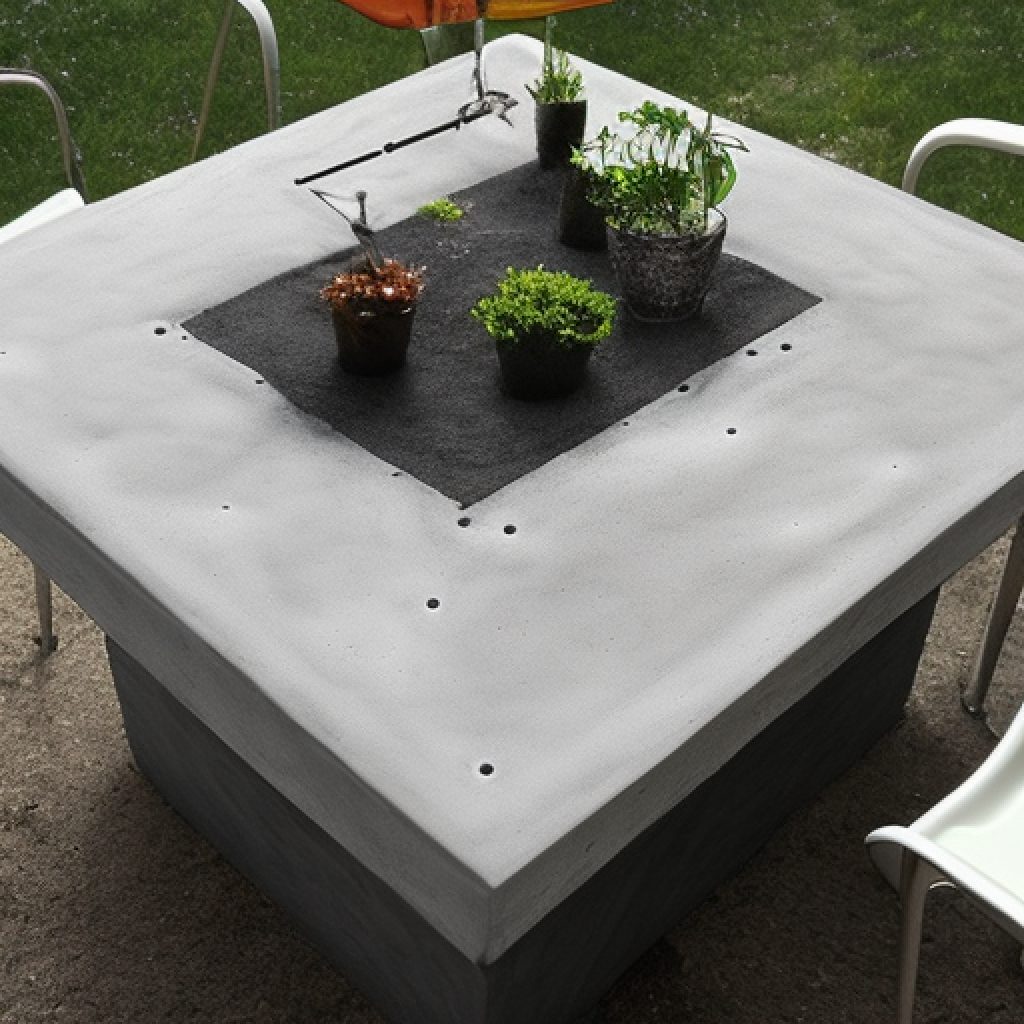
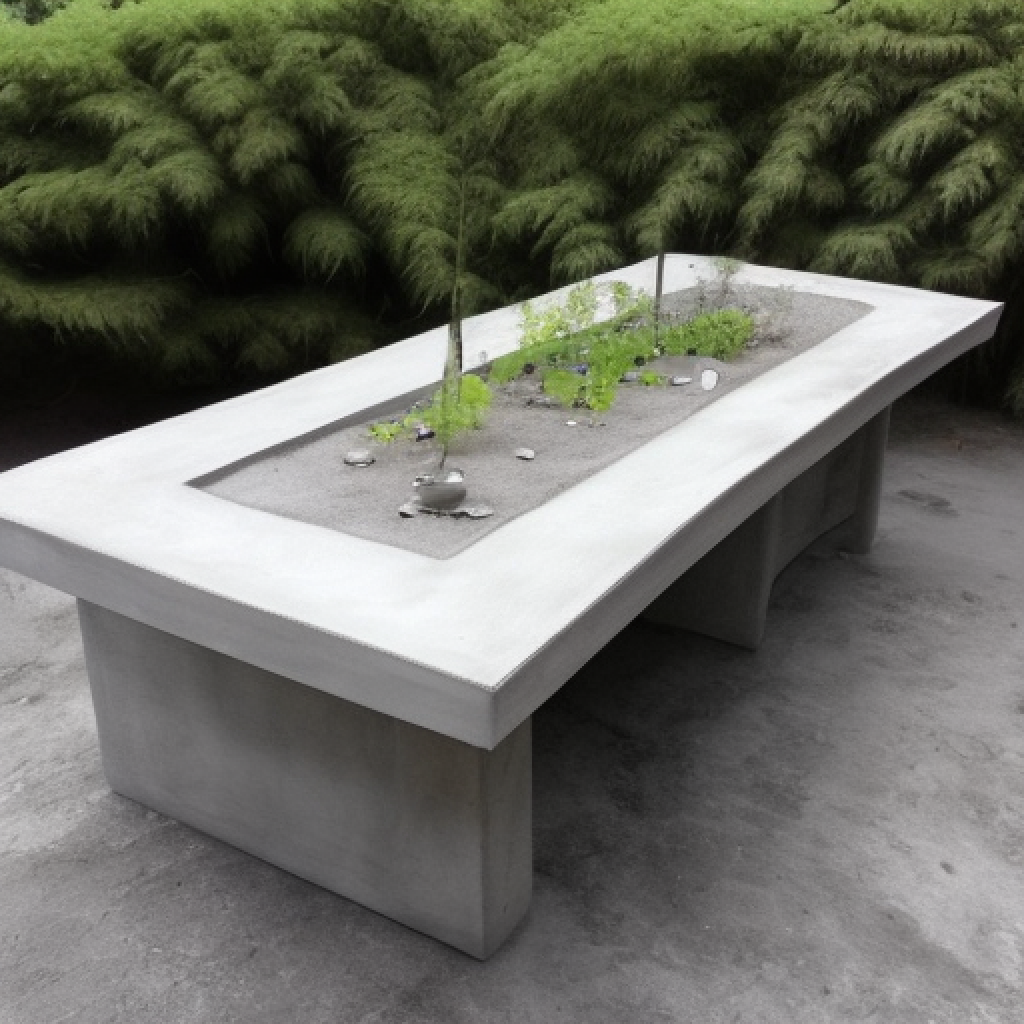
Creating an outdoor garden table using concrete is a fantastic DIY project that can be both fun and rewarding. Not only is it an excellent way to showcase your creativity, but it is also an opportunity to add a unique piece of furniture to your outdoor living space. With the right materials and a little bit of skill, you can make a stunning concrete table that will withstand the elements and last for years to come. To begin the project, you will need to gather all the necessary materials. These include concrete mix, a concrete mold, a mixing bucket, a trowel, sandpaper, and protective gear such as gloves and a mask. Once you have everything you need, it’s time to get started. First, mix the concrete according to the instructions on the package. Be sure to follow the directions carefully to ensure that you get the right consistency. Once you have mixed the concrete, pour it into the mold, making sure to fill it to the top. Use a trowel to smooth out any bumps or uneven spots on the surface. Next, let the concrete dry and set for at least 24 hours. Once it has hardened, carefully remove the mold. You may need to use a hammer or chisel to break the mold away from the concrete. Be sure to work slowly and carefully to avoid damaging the surface of the table. After removing the mold, you can sand the surface of the concrete to create a smooth finish. Start with a coarse sandpaper and work your way up to a finer grit to achieve a polished look. You can also add a sealant to protect the table from moisture and sun damage. One of the best things about making a concrete table is the versatility of the design. You can choose from a variety of molds to create tables in different shapes and sizes. You can also add color to the concrete mix to give the table a unique look. Additionally, you can use the table as a base for other outdoor decor, such as a glass top or mosaic tiles. In conclusion, creating your own concrete table is an excellent way to add a unique touch to your outdoor living space. With the right materials and a little bit of patience, you can make a stunning piece of furniture that will withstand the elements and last for years to come. So why not give it a try and create your very own concrete garden table today?
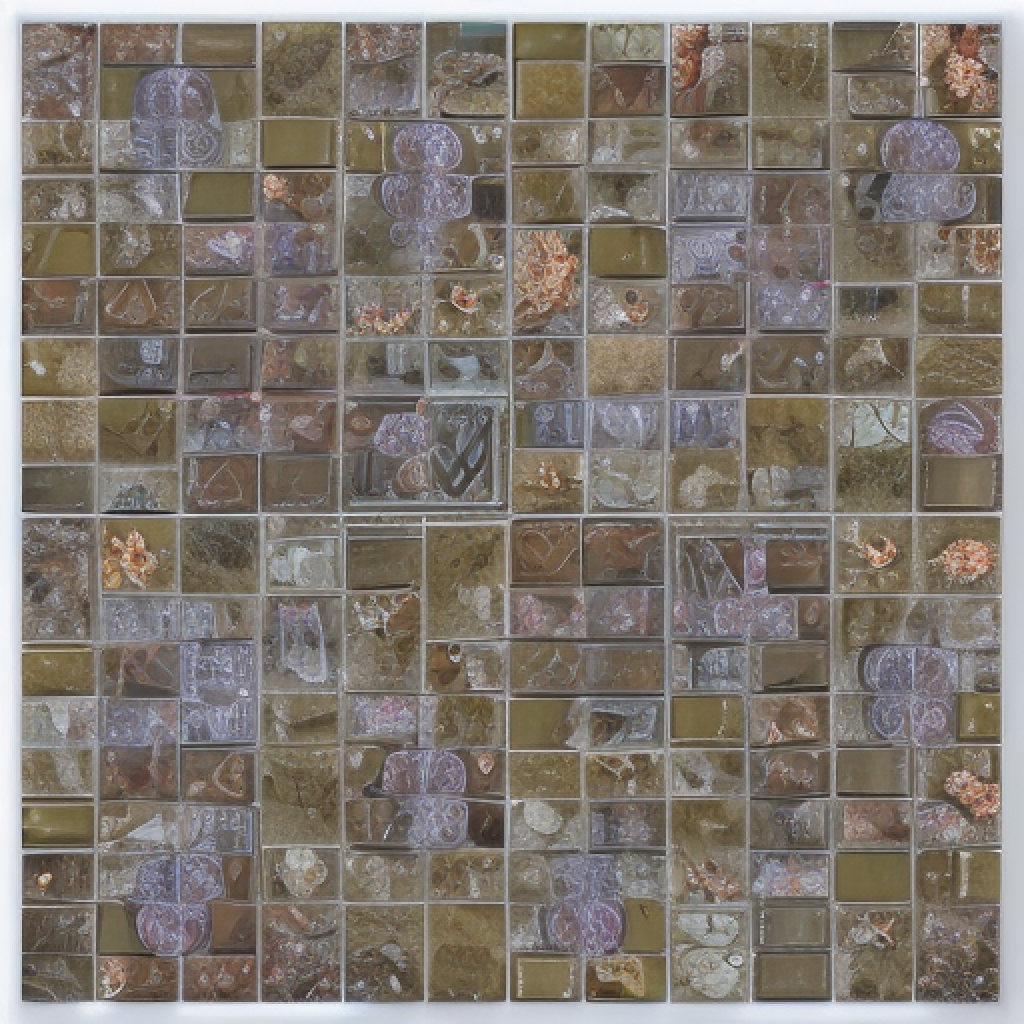
Are you looking for a fun and creative way to spruce up your outdoor garden space? Why not create a beautiful mosaic tile table using broken tiles? The process is simple and can be a great way to repurpose old tiles or create a unique design. Firstly, you will need to gather all of the necessary materials. These include a table – this could be an old table that you no longer use, or you can purchase a new one to fit your desired size and shape. You will also need tiles – these can be any shape, size, or color, as long as they are broken into small pieces. You will also need adhesive, grout, a brush, and a sponge. Once you have all of your materials, it’s time to get started. Begin by cleaning the table surface and ensuring that it is dry. Next, apply a layer of adhesive to the table surface, making sure to spread it evenly. You can use a notched trowel to help with this process. Once the adhesive is applied, begin placing the tiles onto the table surface in your desired pattern. You can create a design or simply place the tiles randomly. Make sure to leave a small gap between each tile to allow for grout. Once you have arranged all of the tiles, allow the adhesive to dry completely. This can take several hours or even overnight, depending on the type of adhesive used. Once the adhesive is dry, it’s time to add the grout. Mix the grout according to the manufacturer’s instructions and apply it to the table surface, making sure to fill in all of the gaps between the tiles. Use a brush to help spread the grout evenly and remove any excess. Allow the grout to dry for about 10-15 minutes and then use a damp sponge to wipe away any excess grout from the tile surface. Finally, allow the grout to dry completely, which can take 24-48 hours. Once the grout is dry, your beautiful mosaic tile table is ready to use and enjoy. This project can be a great way to add some color and personality to your outdoor garden space, while also repurposing old materials. Try experimenting with different tile shapes, sizes, and colors to create a truly unique design. With a little creativity and patience, you can create a stunning mosaic table that will be the envy of all your friends and neighbors.
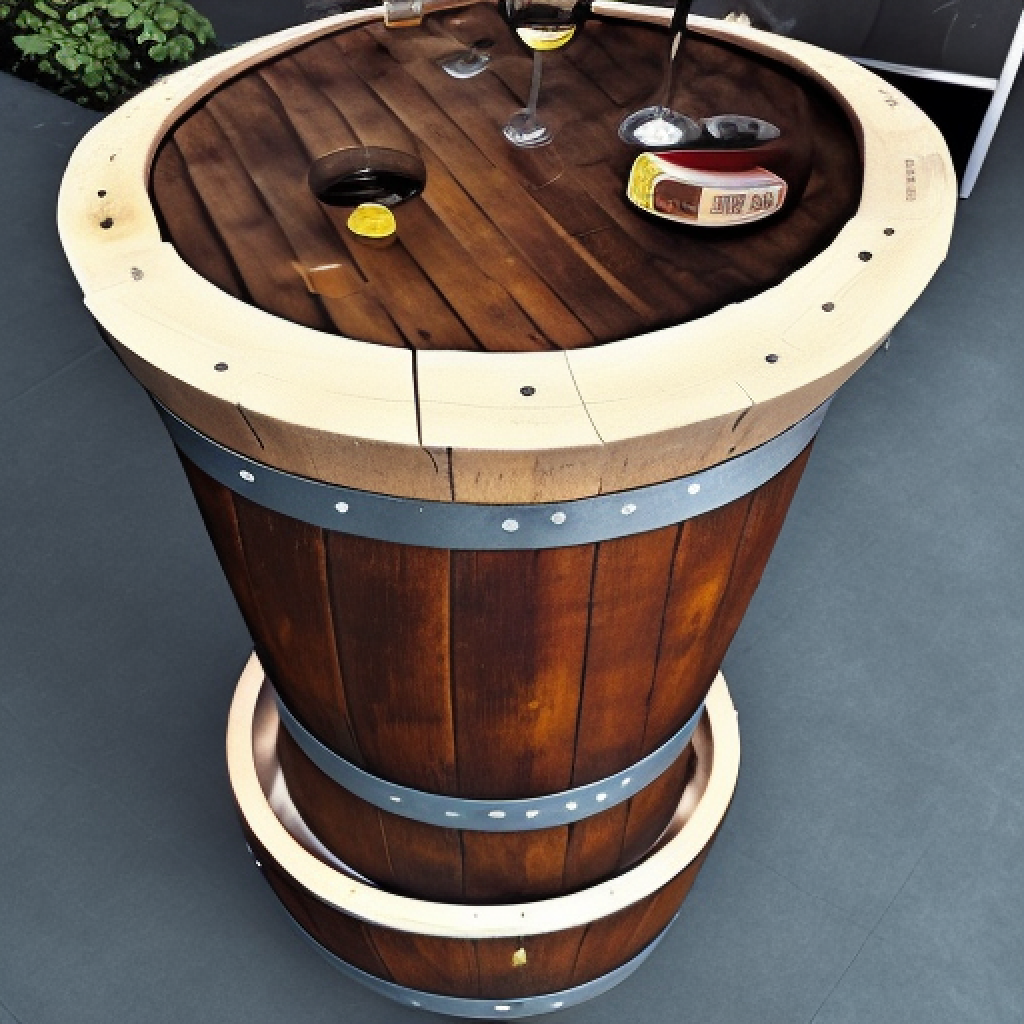
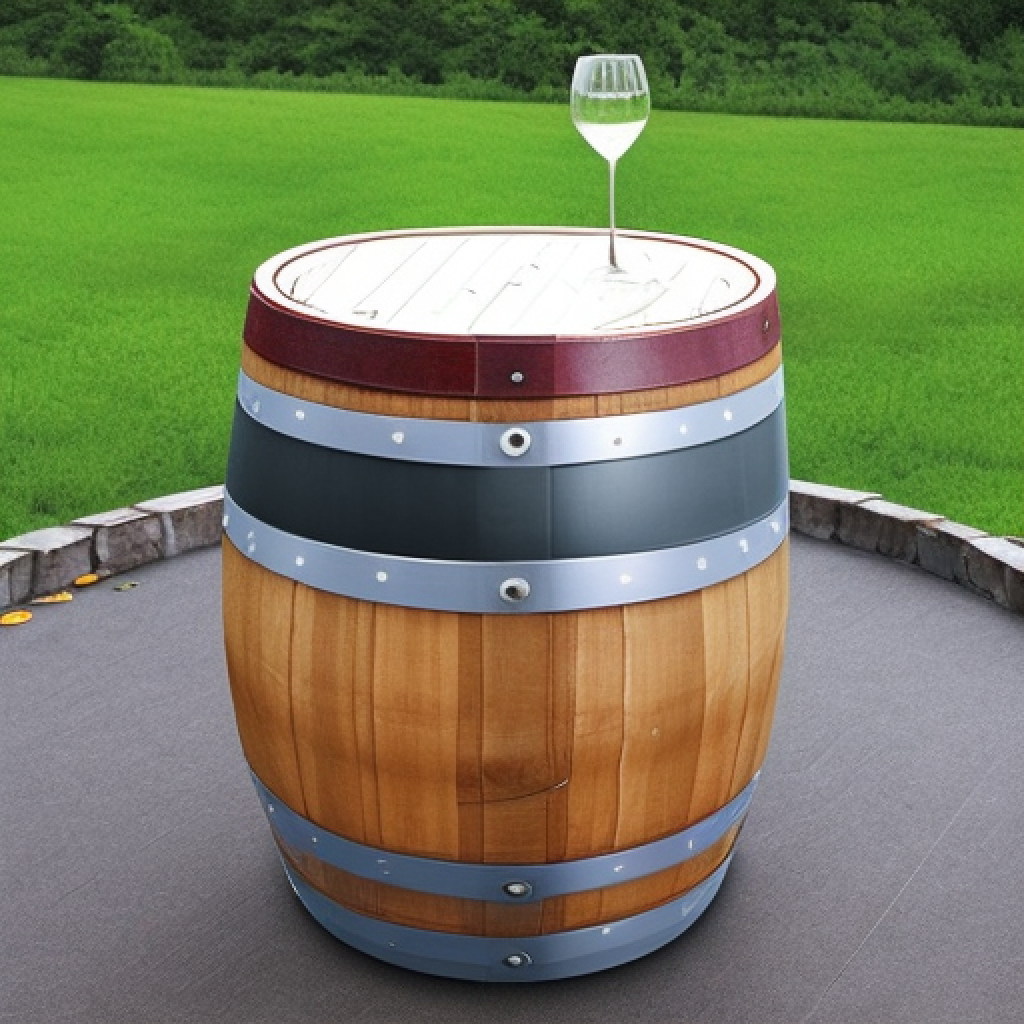
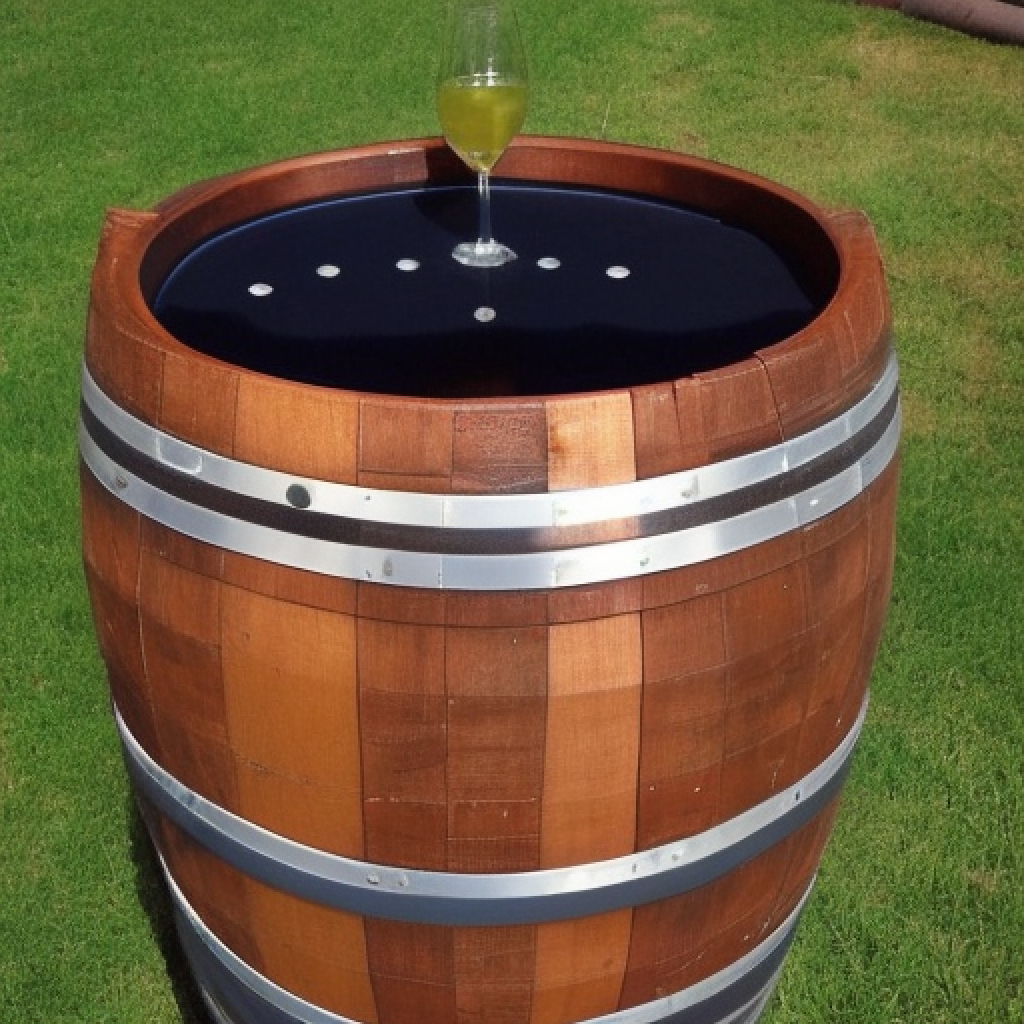
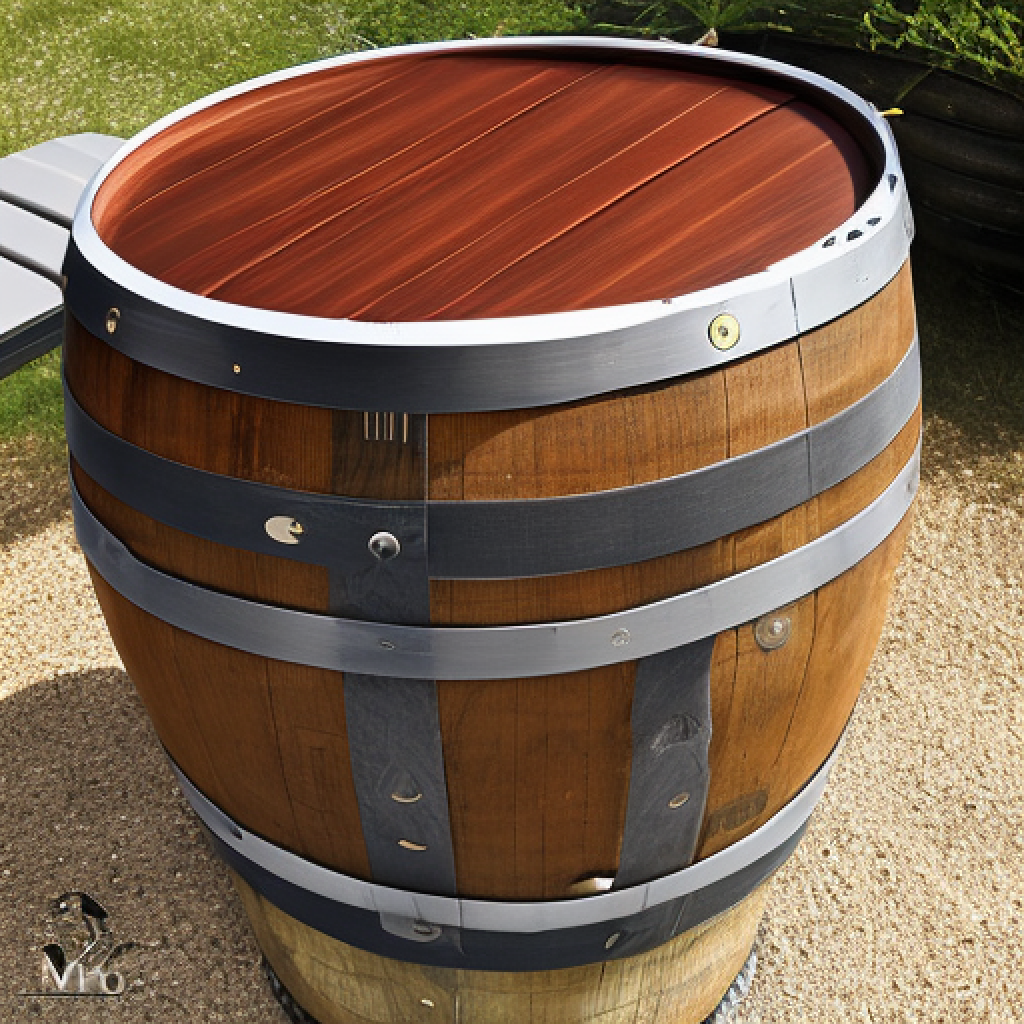
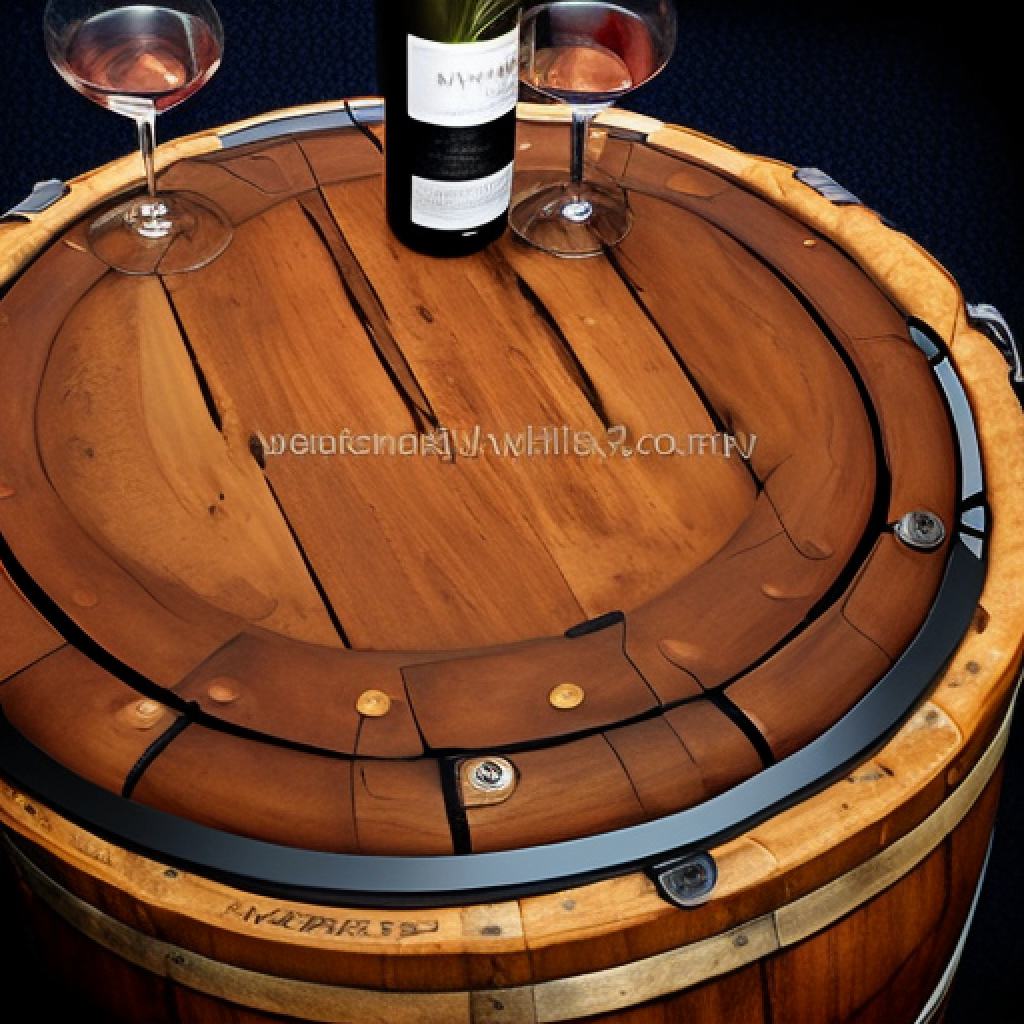
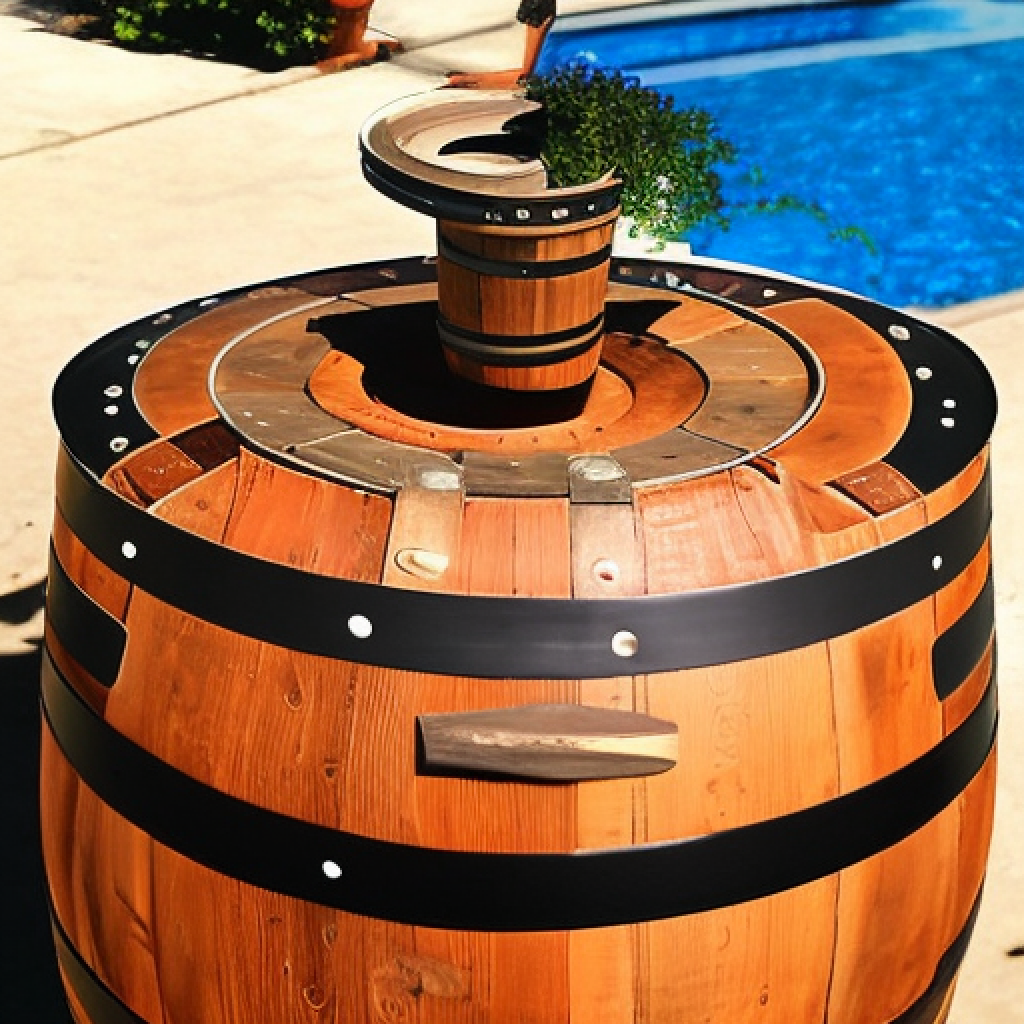
Wine Barrel Table: A Creative Way to Repurpose Your Wine Barrel Wine barrels are beautiful and unique pieces of decor, but did you know that you can repurpose them into practical items too? One of the most innovative ways to reuse your wine barrel is to create an outdoor garden table. This article will guide you on how to transform your barrel into a stunning piece of furniture that’s perfect for entertaining family and friends. The first step in crafting your wine barrel table is to cut it in half. This can be done using a regular saw, or you can call upon a professional woodworker to assist you. Once the barrel is cut, the surface will not be flat, and you will need to sand it down to make it level. It’s essential to use sandpaper that is fine-grained so that you don’t cause any scratches on the surface. After the initial sanding, go over the surface again to achieve a smooth and polished finish. For that extra touch, you can leave some of the natural wood grain visible. Now that your barrel is leveled and sanded, you can add the table surface. There are two standard options for the table surface, glass or wood. Glass is an excellent choice if you want to showcase the beautiful interior of the barrel. A custom-cut piece of glass can be placed on top of the barrel, and it will rest securely thanks to its weight. Wooden planks are also a popular option for the table surface. For this option, you will need to cut the planks to fit the size of your barrel’s top. The planks can be screwed or glued on top of the barrel, creating a flat surface. These DIY wine barrel tables are perfect for outdoor entertaining. They can be customized to suit any decor style, and they are sturdy and durable enough to withstand outdoor elements. The table can be used as a coffee table, dining table, or even a planter table. Imagine sitting around your wine barrel table with friends, sipping on a glass of wine, looking at the stars, and enjoying good conversation. It’s a magical way to spend your summer evenings. In conclusion, if you have an unused wine barrel at home, don’t toss it out. Instead, upcycle it into a stunning garden table. Follow the steps above to create a unique piece of furniture that will be the center of attention at your next outdoor gathering. Your guests will be impressed with your creativity, and you’ll be proud of yourself for being eco-friendly.
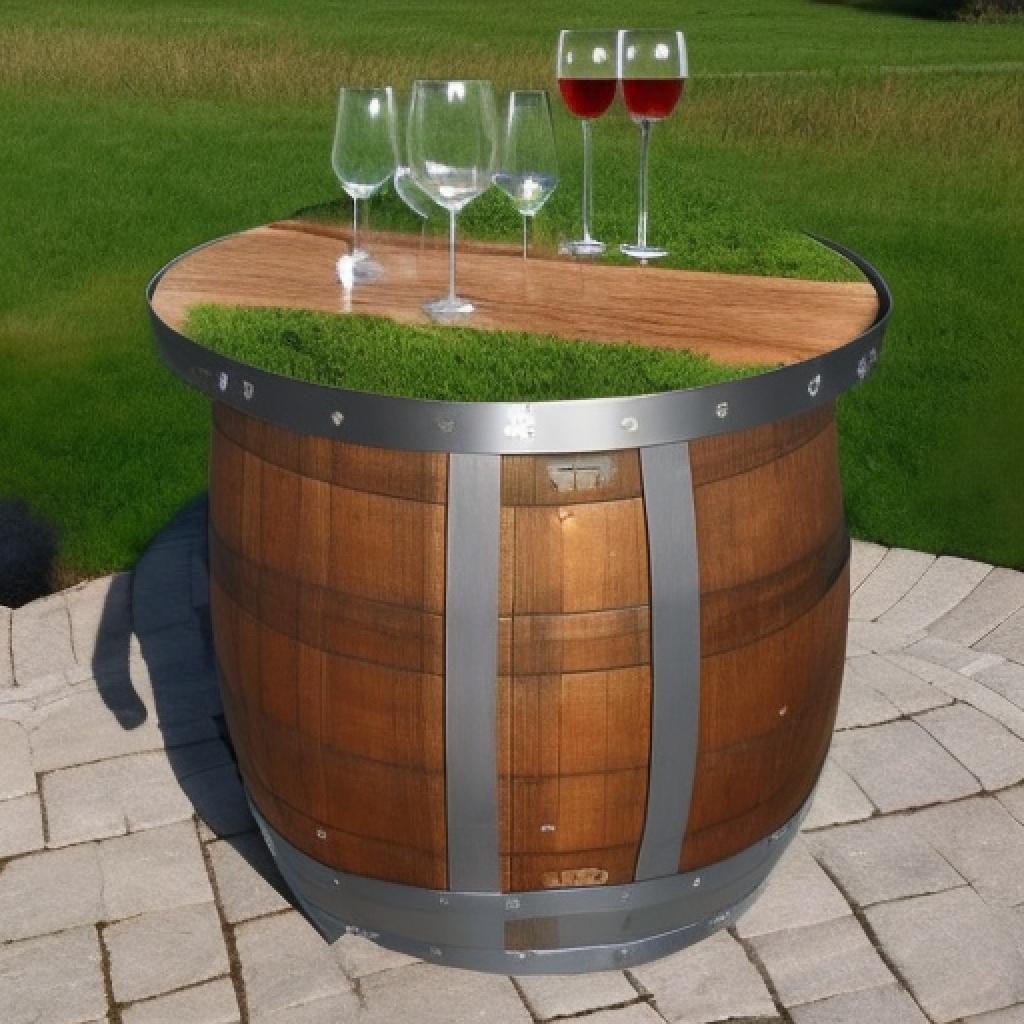
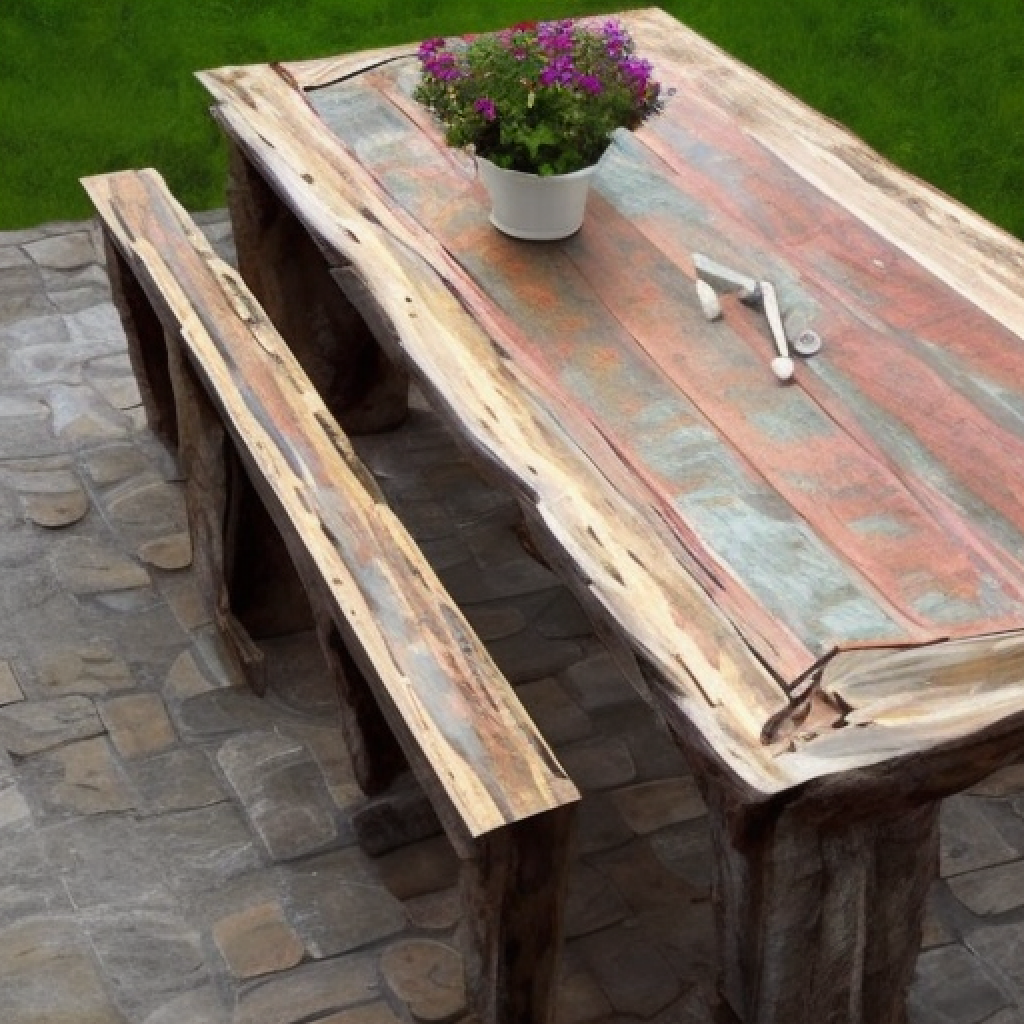
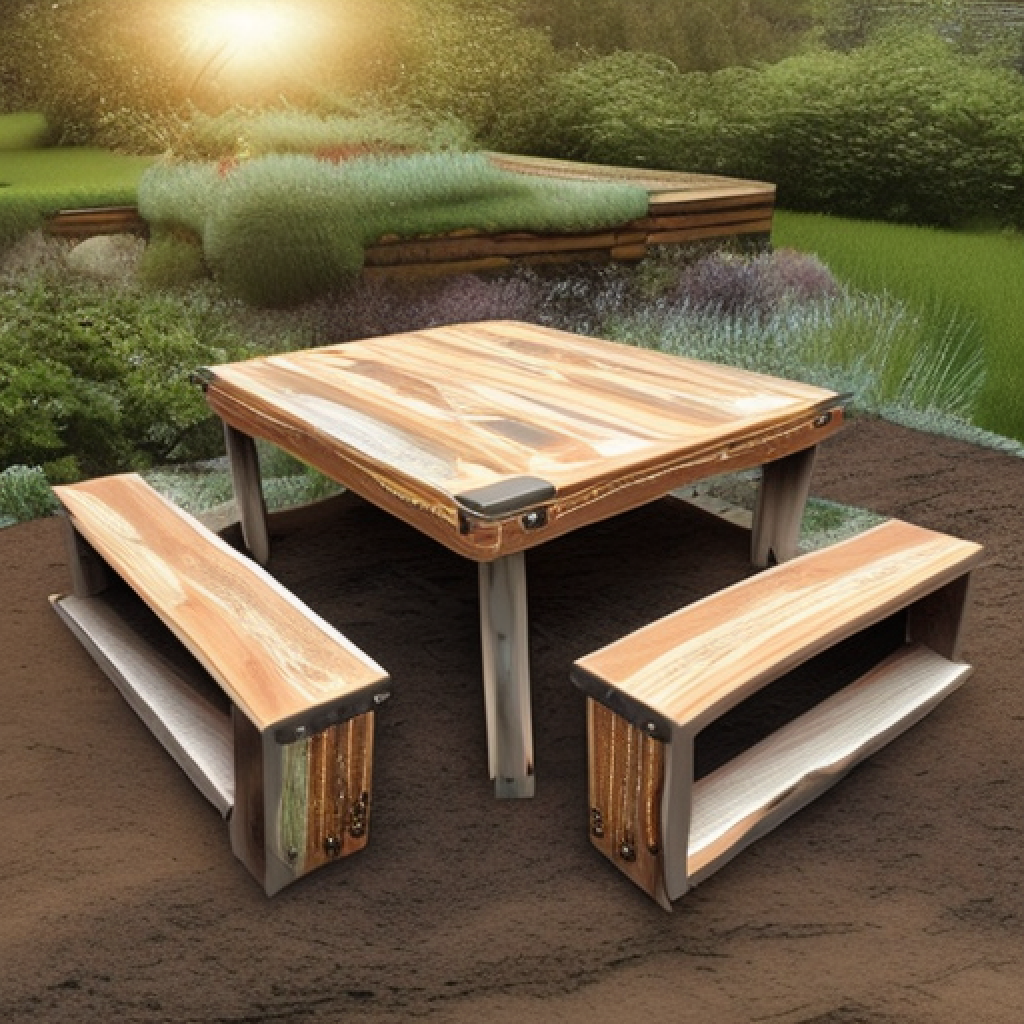
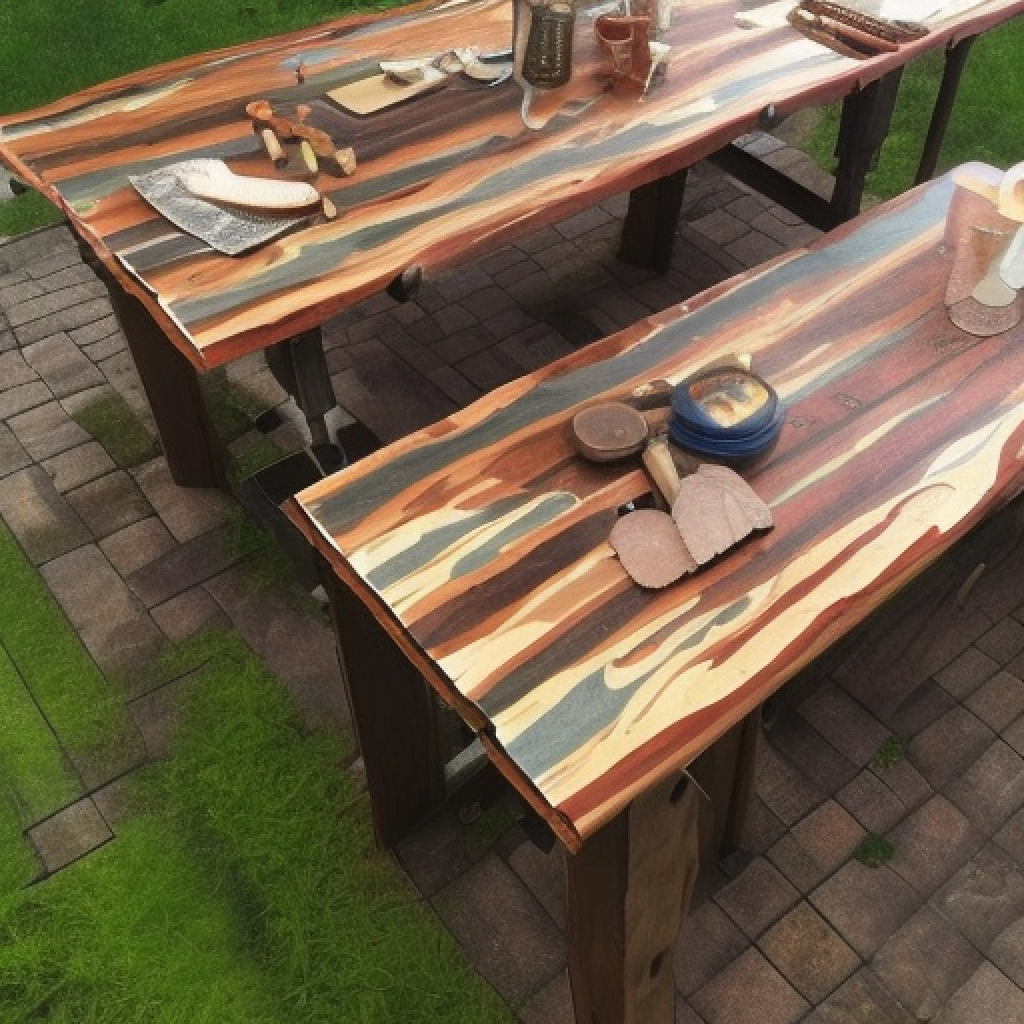
If you’re looking for a charming and rustic way to add some personality to your garden or outdoor space, consider creating a wooden table. Not only is it a unique piece of furniture, but it’s also an enjoyable DIY project that can be completed in a few simple steps. To begin, gather the necessary materials. You will need wooden planks, screws, a drill, sandpaper, and varnish. You can choose the type of wood you prefer, but cedar or redwood are popular options due to their durability and resistance to rot. Next, measure and cut the planks to the desired size of your table. Use a drill and screws to attach the planks together, making sure they are level and secure. Sand the surface to create a smooth finish, and then wipe away any excess sawdust. To protect the wood from the elements, apply a coat of varnish. This will not only keep the wood looking fresh but also help prevent it from rotting or becoming damaged due to weather conditions. The great thing about creating your own rustic wooden table is the ability to customize it to your liking. You can add additional features such as a built-in cooler or umbrella holder. Additionally, you can choose to stain the wood a different color to match your outdoor décor or paint it with unique designs for a personalized touch. Whether you’re using it for outdoor dining, as a workspace for gardening, or simply as a decorative element, a rustic wooden table is a versatile and charming addition to any outdoor space.
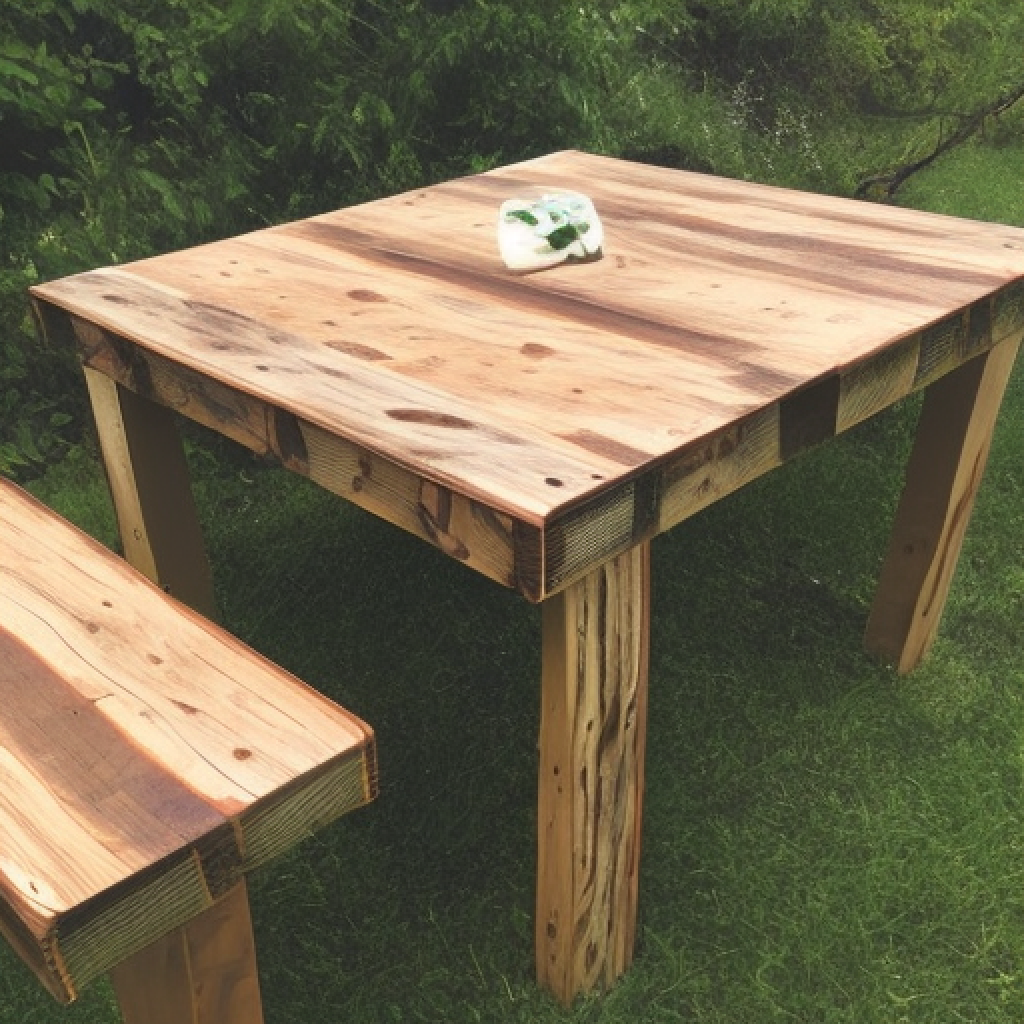
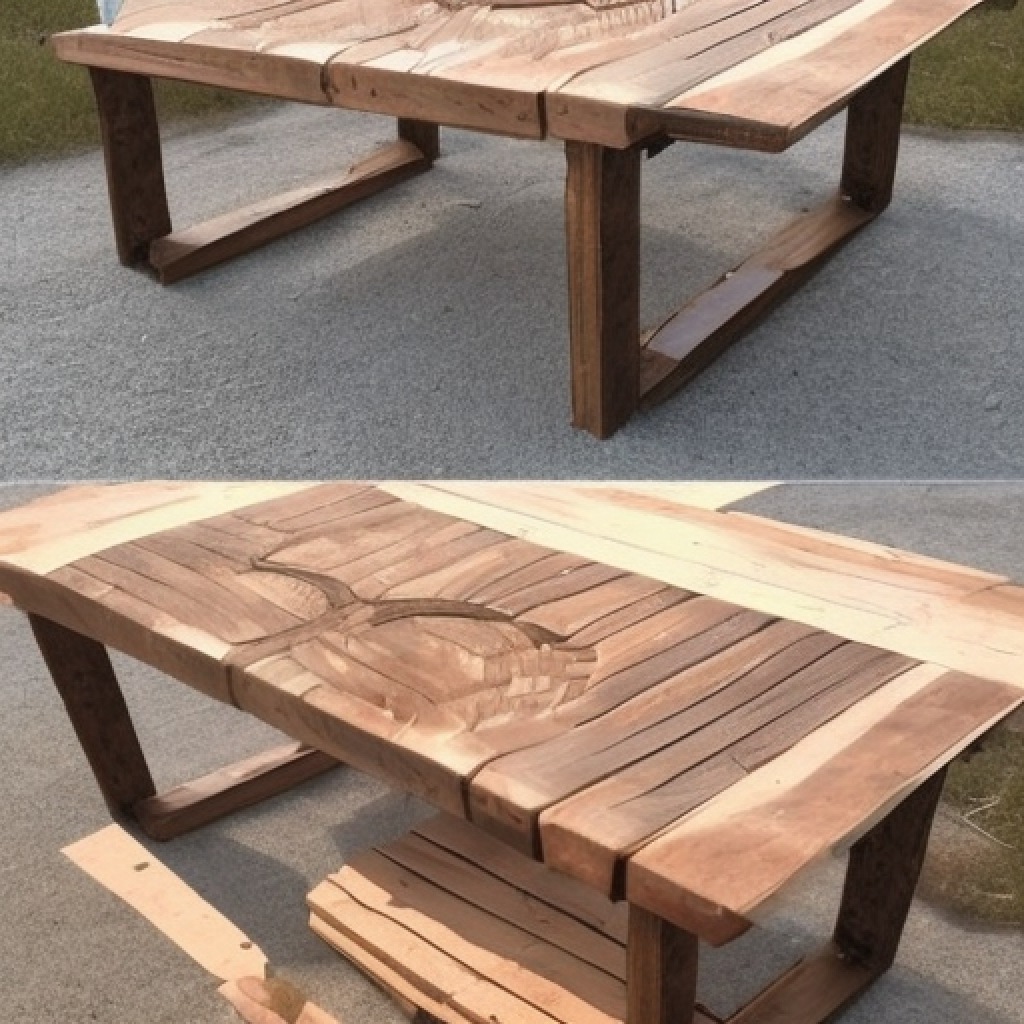
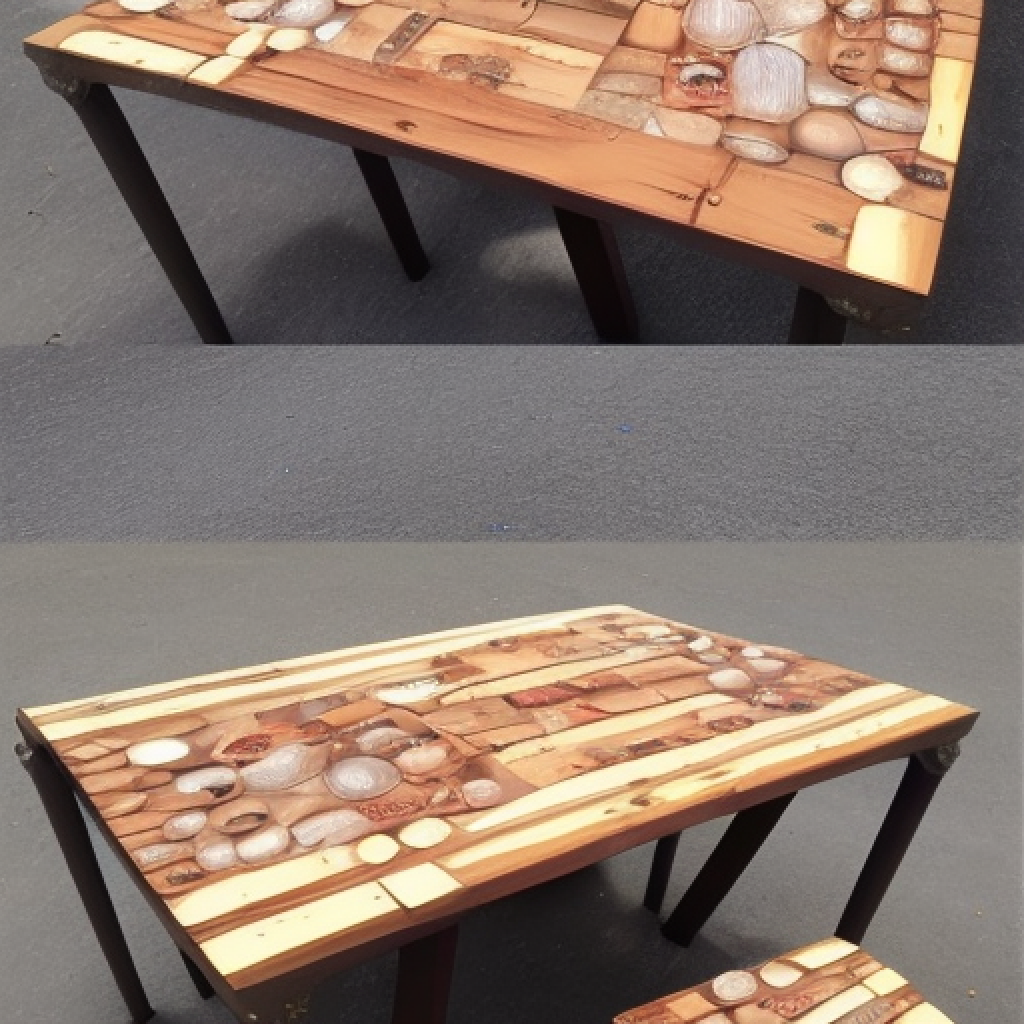
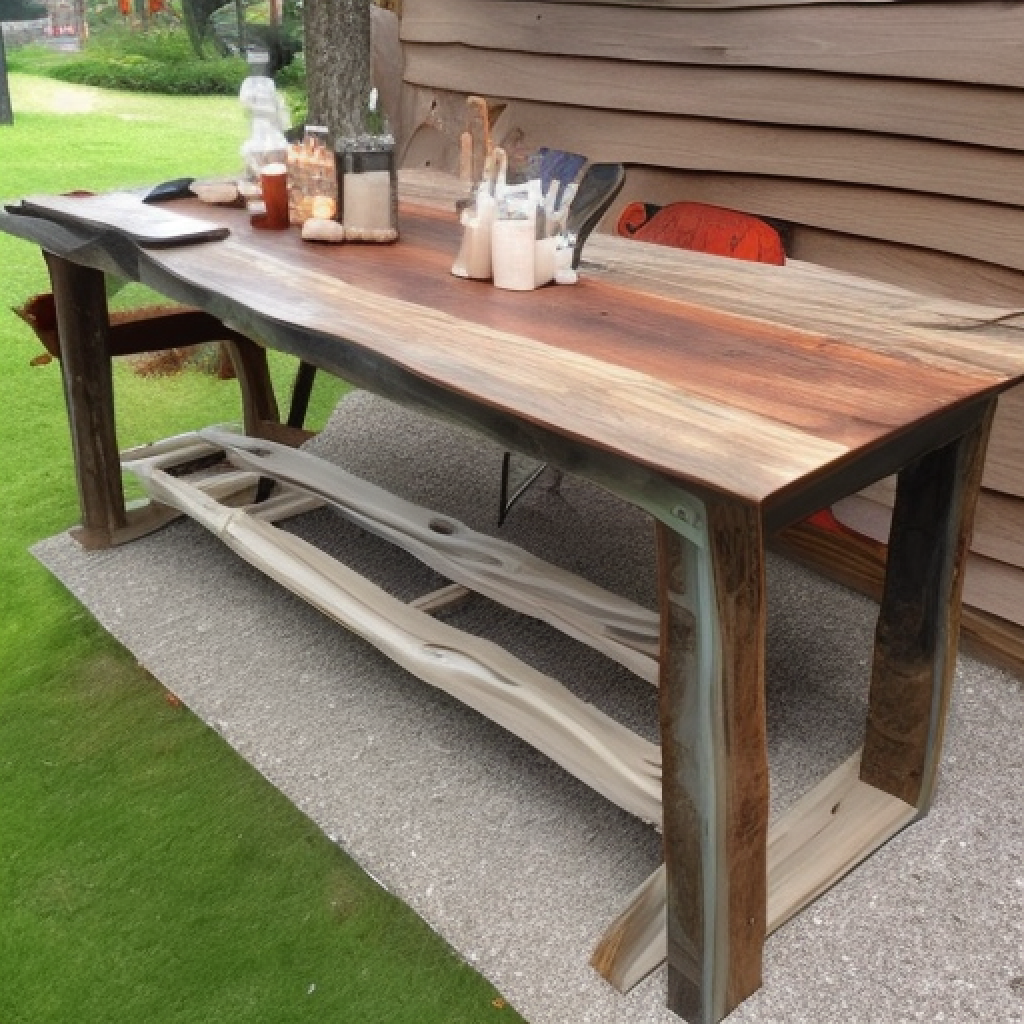
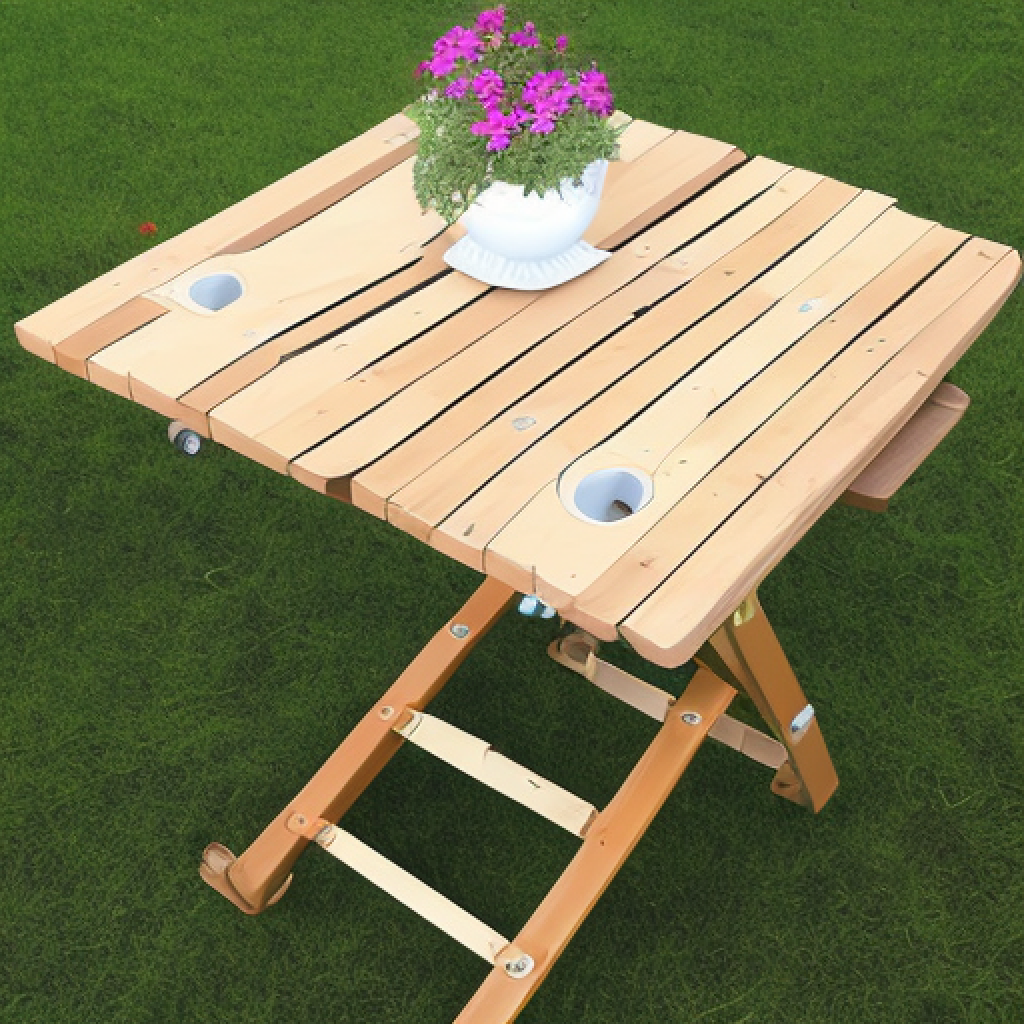
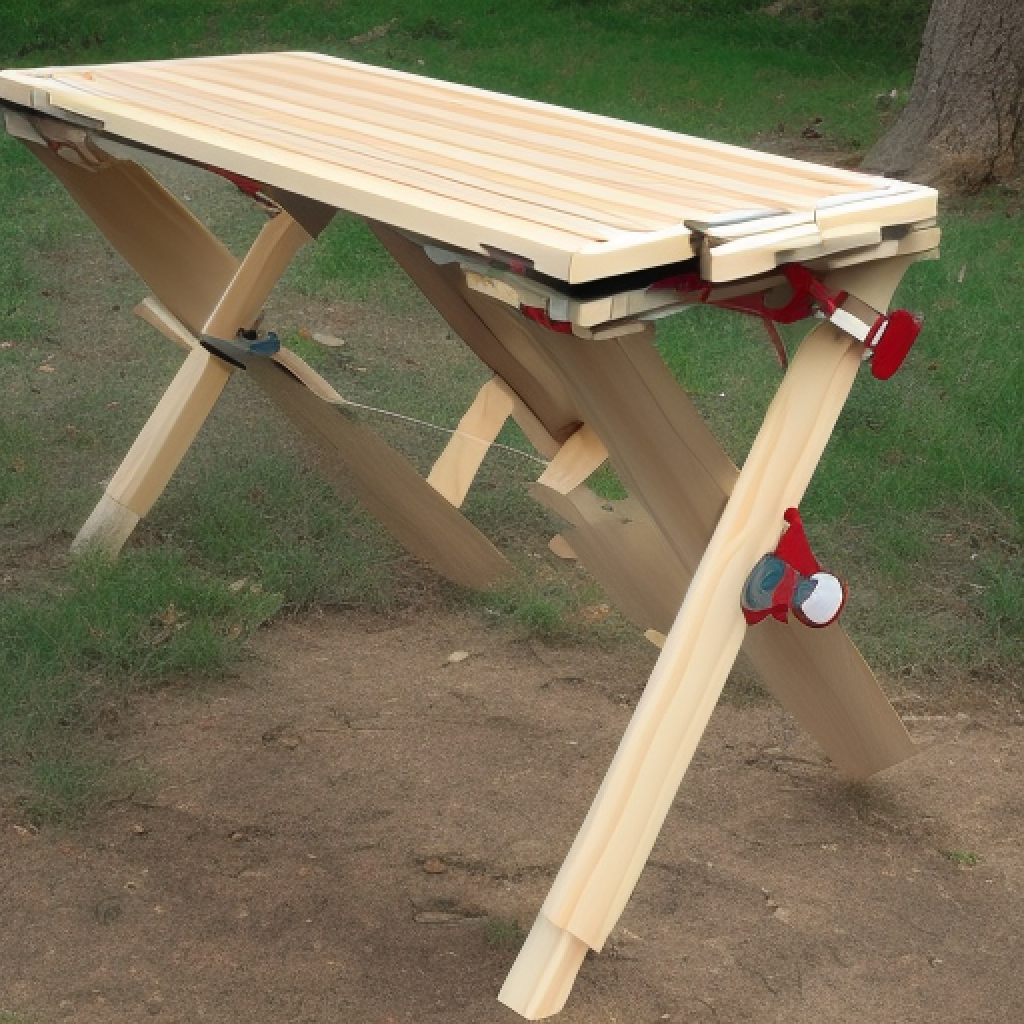
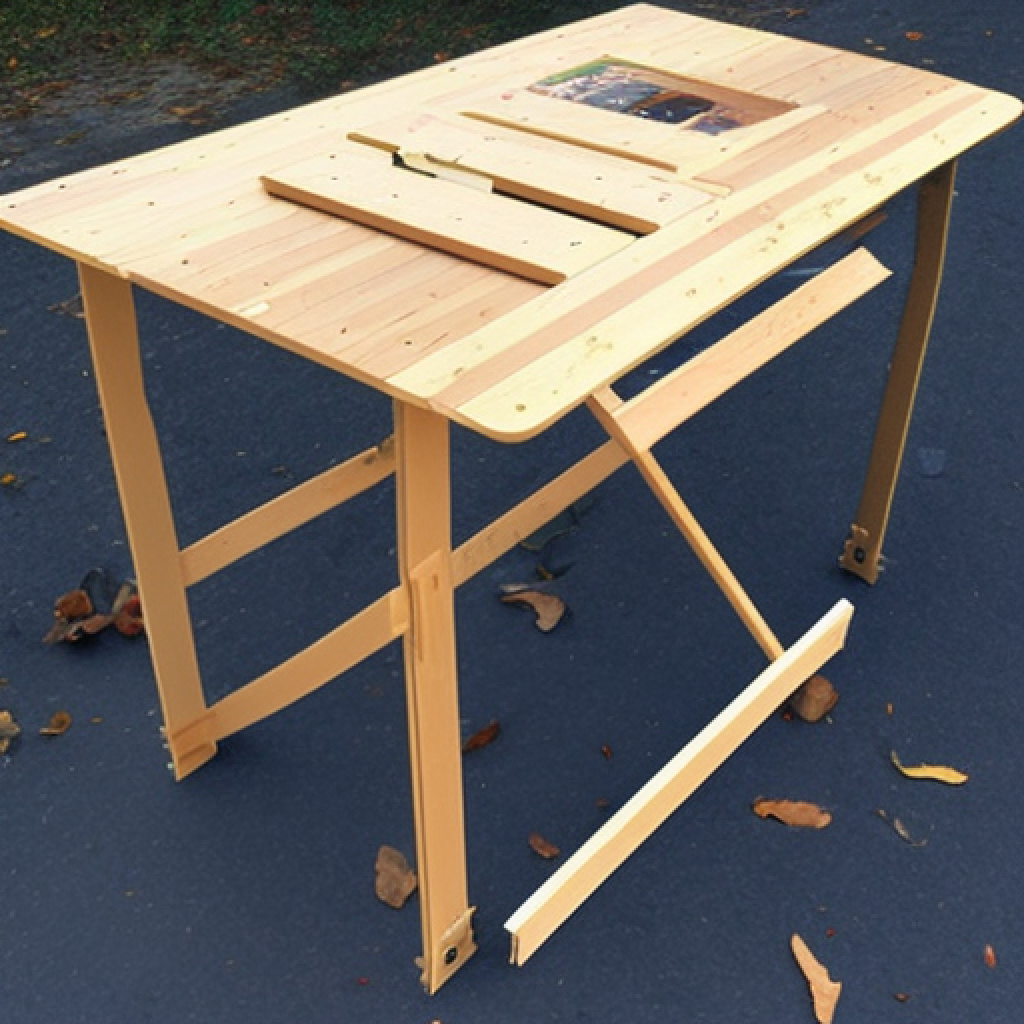
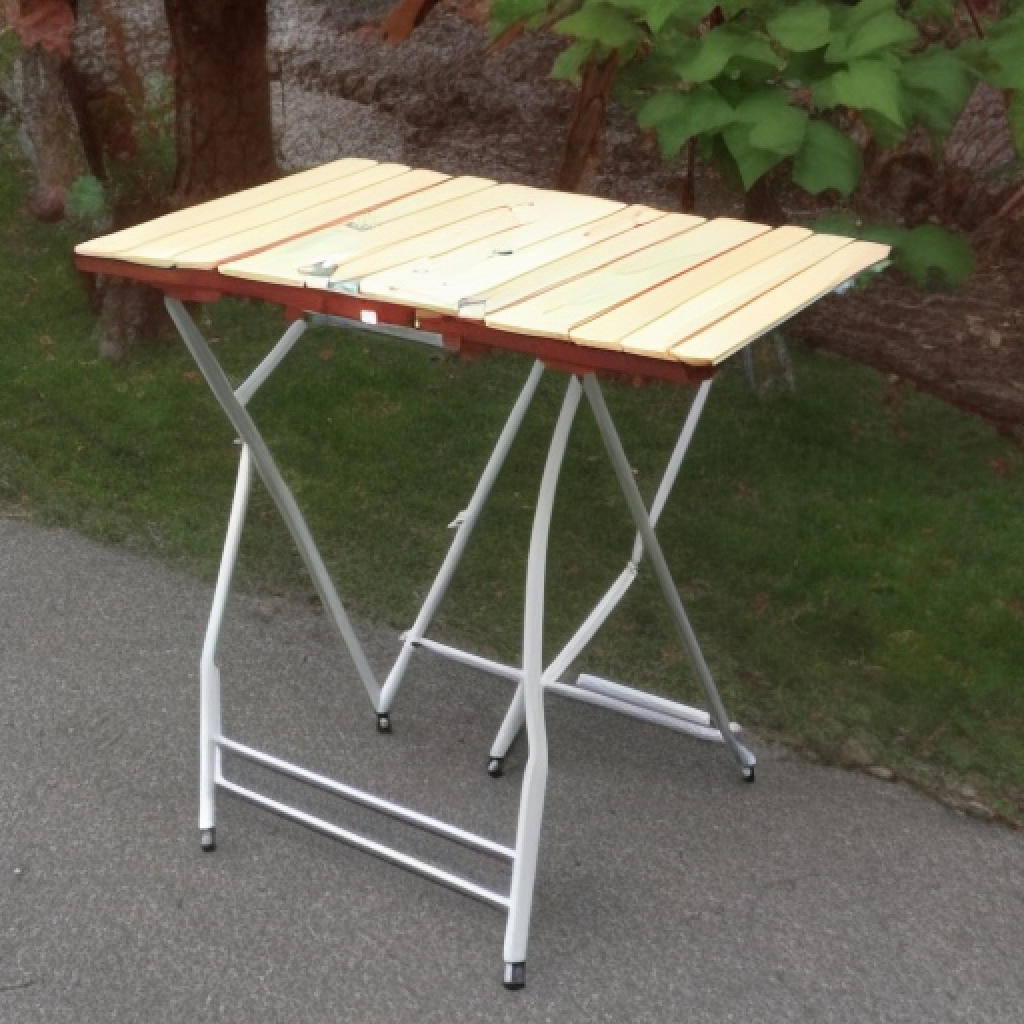
A foldable table can be a handy addition to your outdoor garden area, as it provides a convenient surface for dining, entertaining, or simply relaxing with a book and a cup of tea. With a little creativity and elbow grease, you can easily create your own foldable table using wooden planks and hinges. One of the advantages of a foldable table is its versatility. You can create a table of any size or shape, depending on your needs and the available space in your garden. For example, you could make a small round table for intimate gatherings, or a larger rectangular table for family dinners or outdoor parties. The foldable design means you can easily adjust the size of the table to suit different occasions, and then pack it away when it’s not needed. To make a foldable table, you’ll need some basic woodworking skills and tools. Start by choosing your wooden planks, which should be sturdy enough to support the weight of dishes and utensils. You could use a variety of different woods, depending on your preferences and budget, but pine or cedar are good options for outdoor use. Once you have your planks, cut them to the desired size and shape using a saw. Sand the edges and surface of each plank to create a smooth finish, and then lay them out in the pattern you want for your table. Use hinges to attach the planks together, making sure they are securely fastened and able to fold up and down without difficulty. You may want to add some extra reinforcement, such as diagonal braces or corner brackets, to ensure the table is stable and sturdy when in use. When your table is complete, you can decorate it to suit your taste with paint, stain, or other finishes. You might also want to add some extra features, like an umbrella hole or cup holders, to make it even more functional. And don’t forget to store your table properly when it’s not in use, to protect it from the elements and prolong its lifespan. Overall, a foldable table is a great DIY project for anyone who wants to add some extra flair to their outdoor space. With a little effort and ingenuity, you can create a custom table that is both practical and stylish, and that will provide you with years of enjoyment.
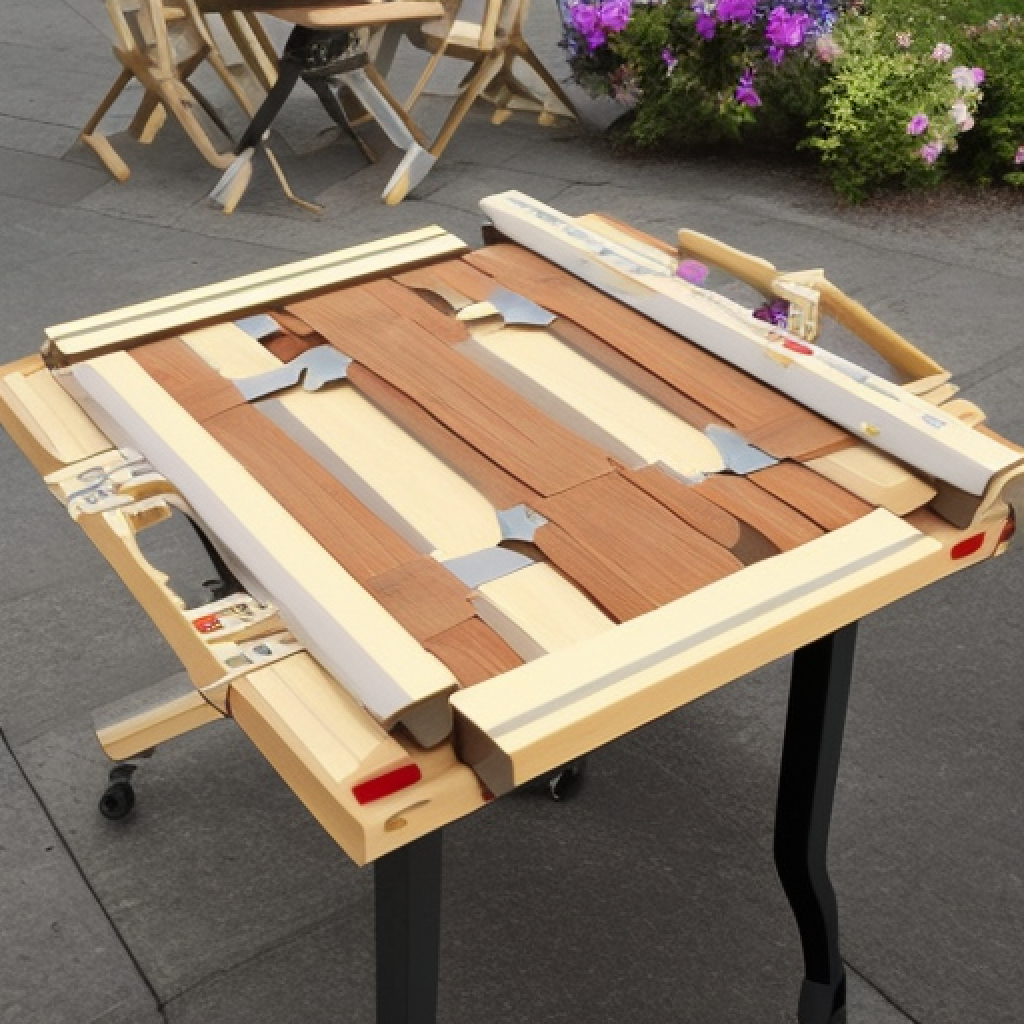
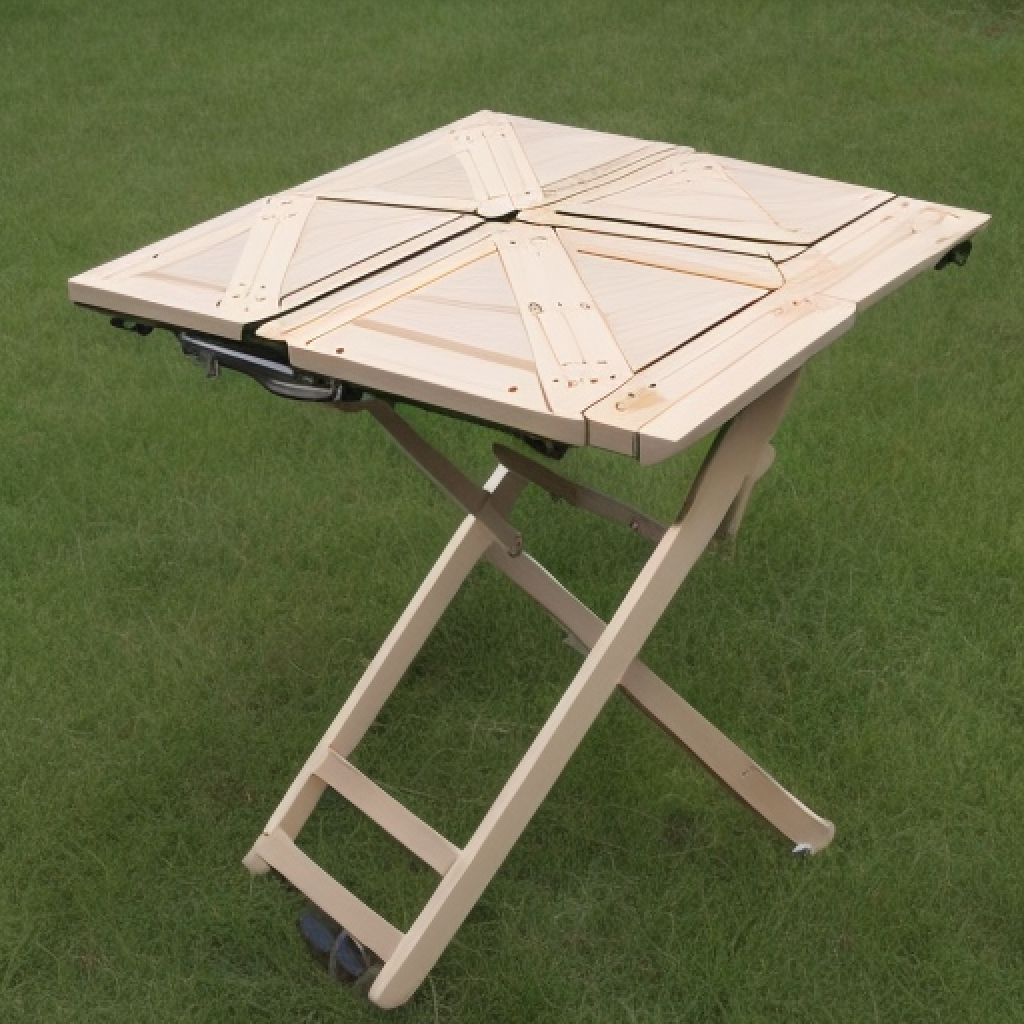
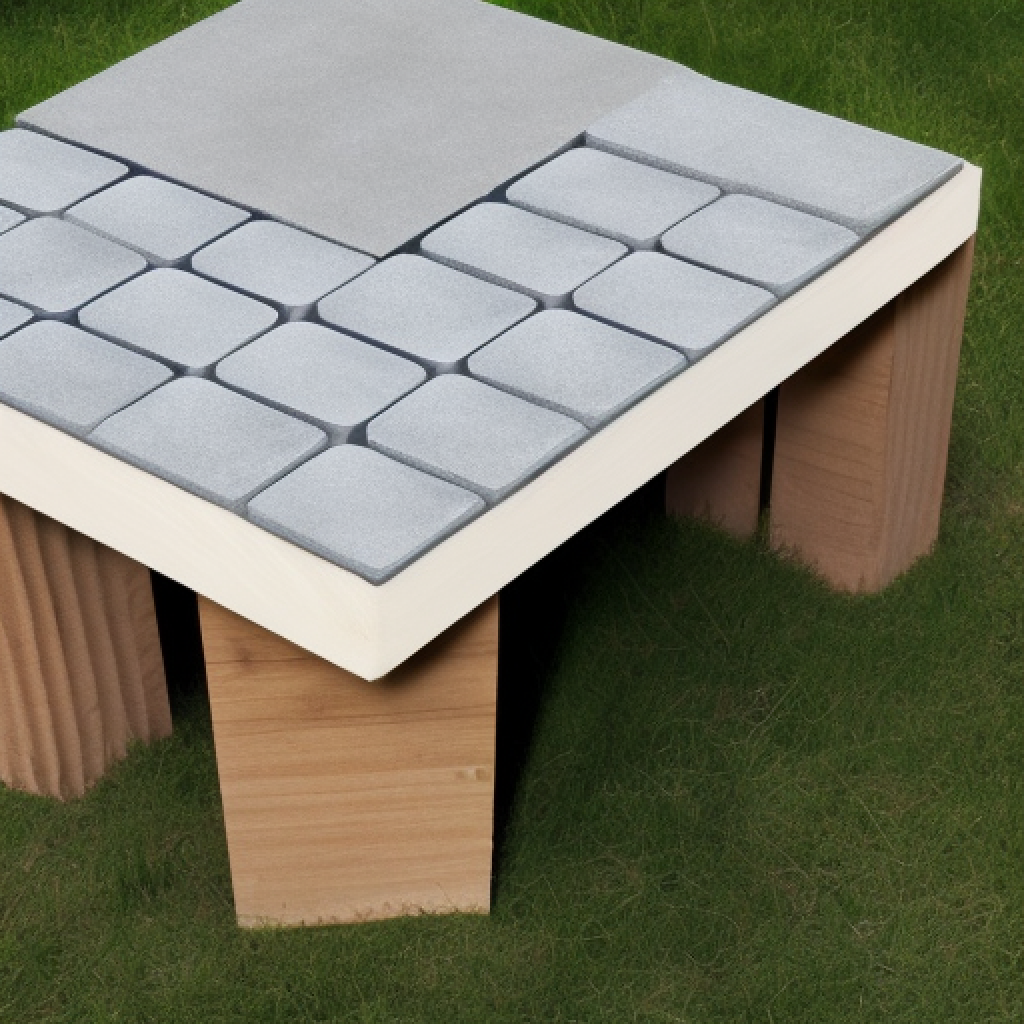
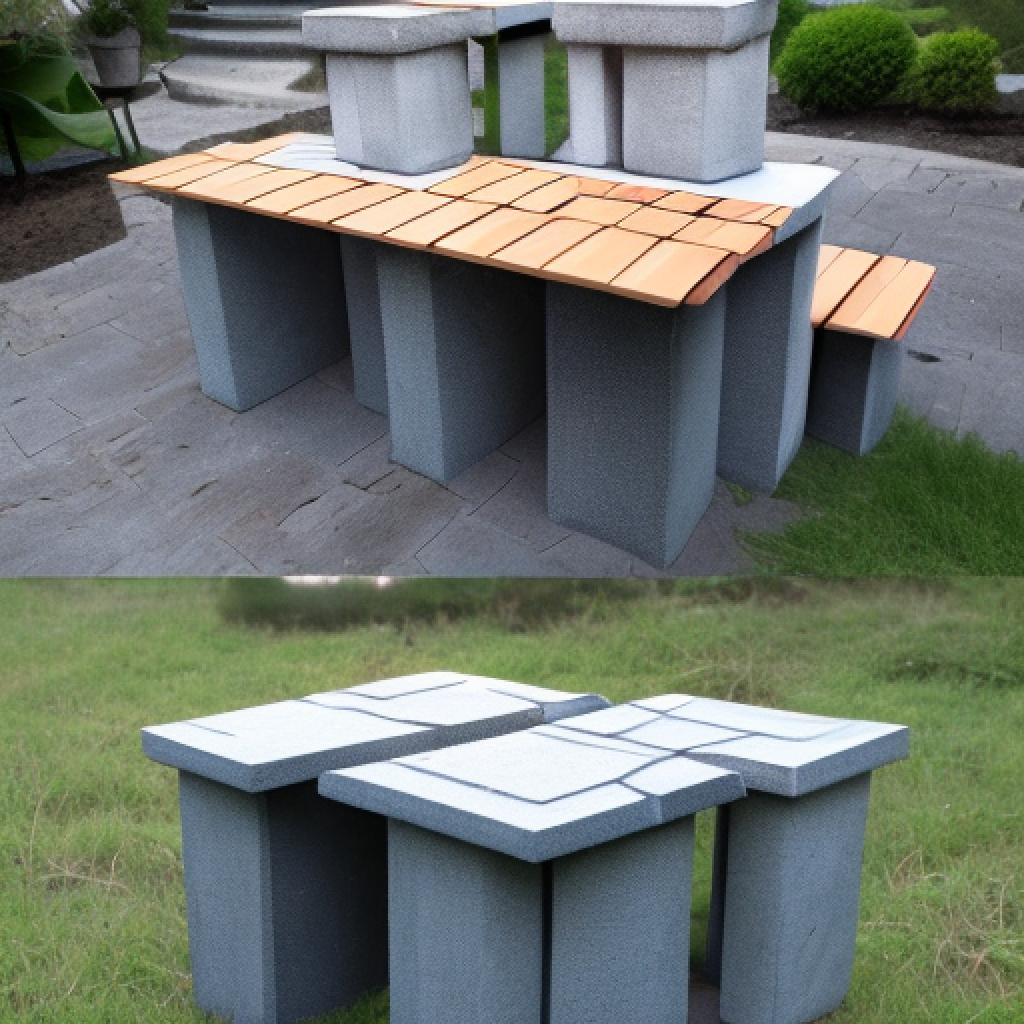
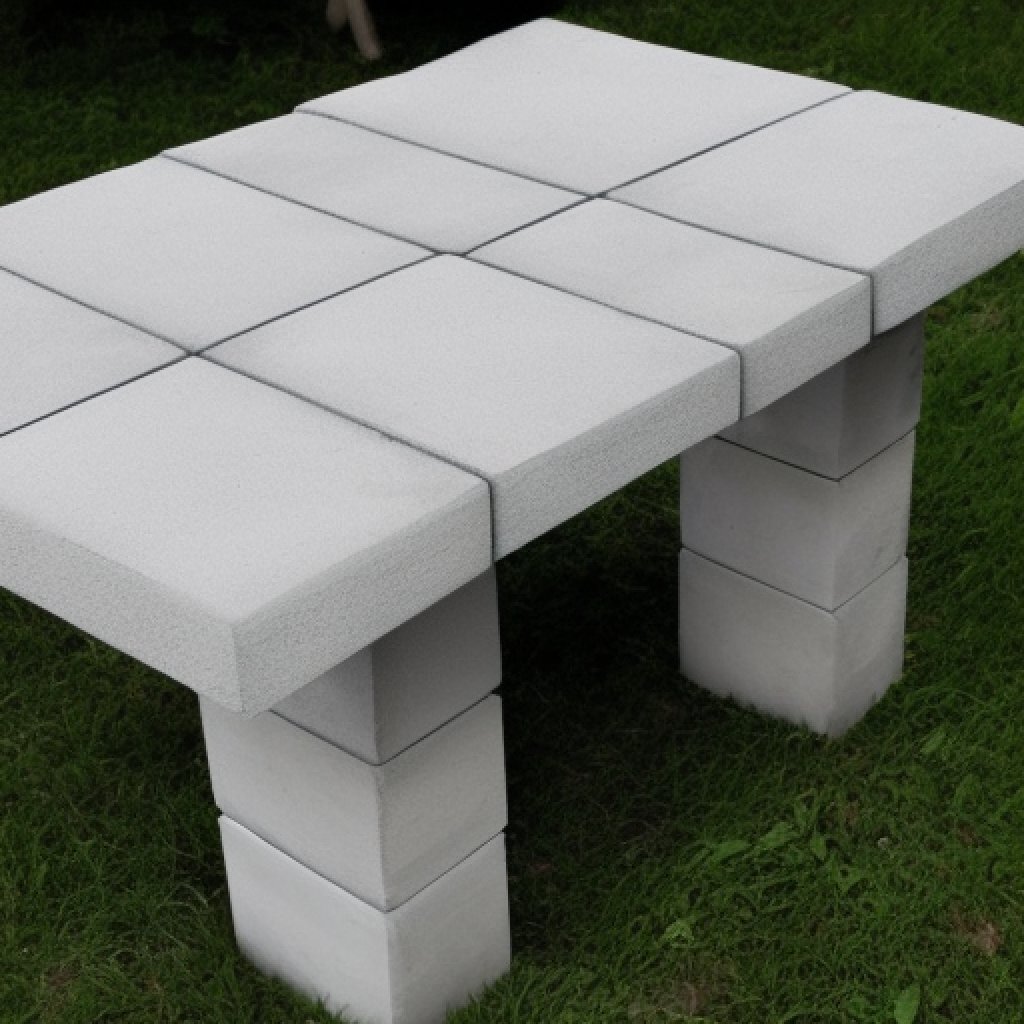
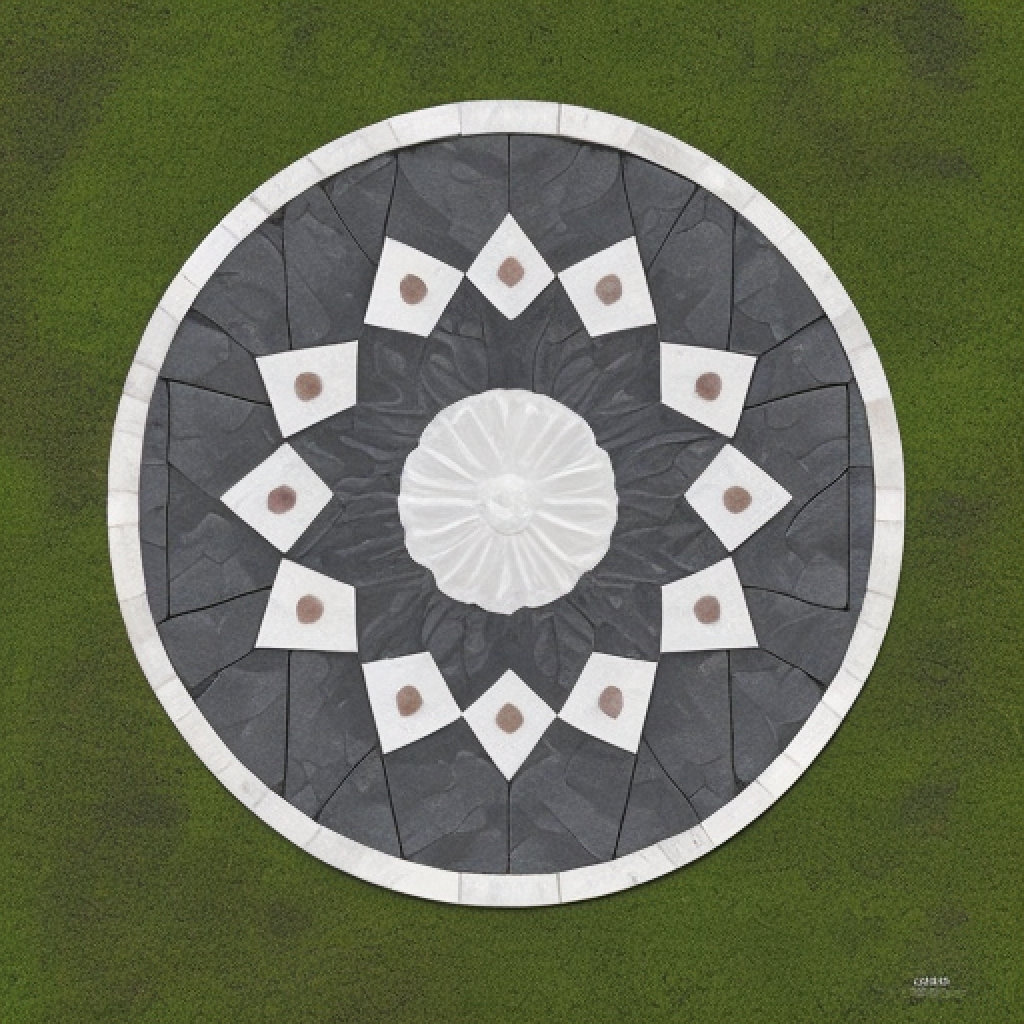
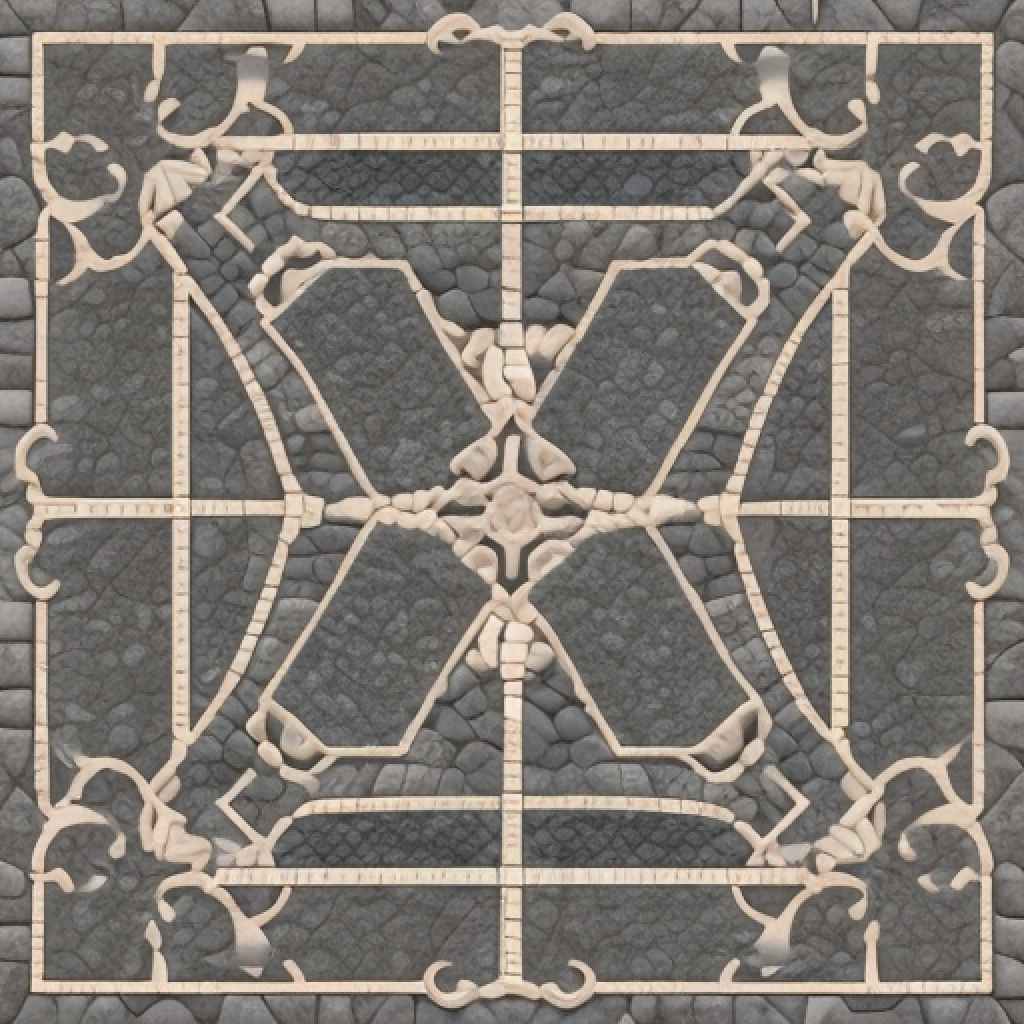
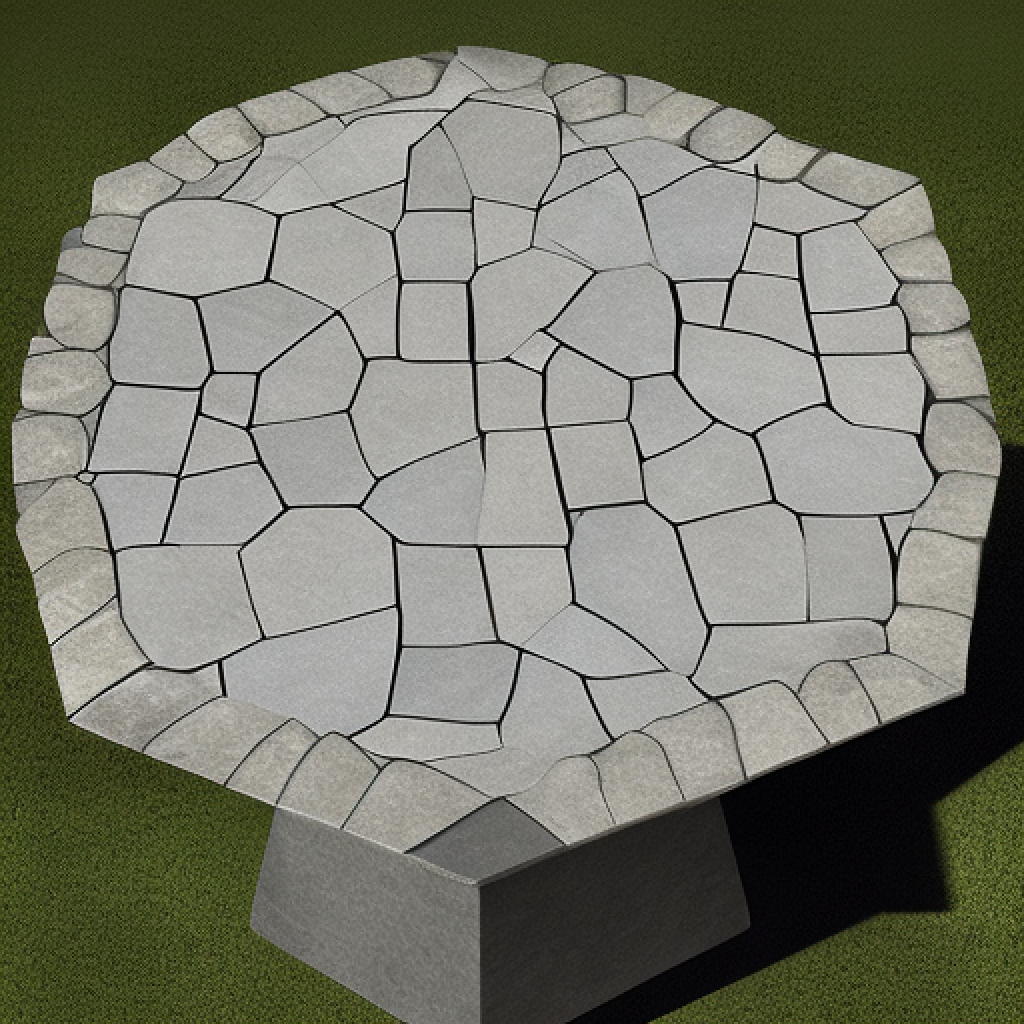
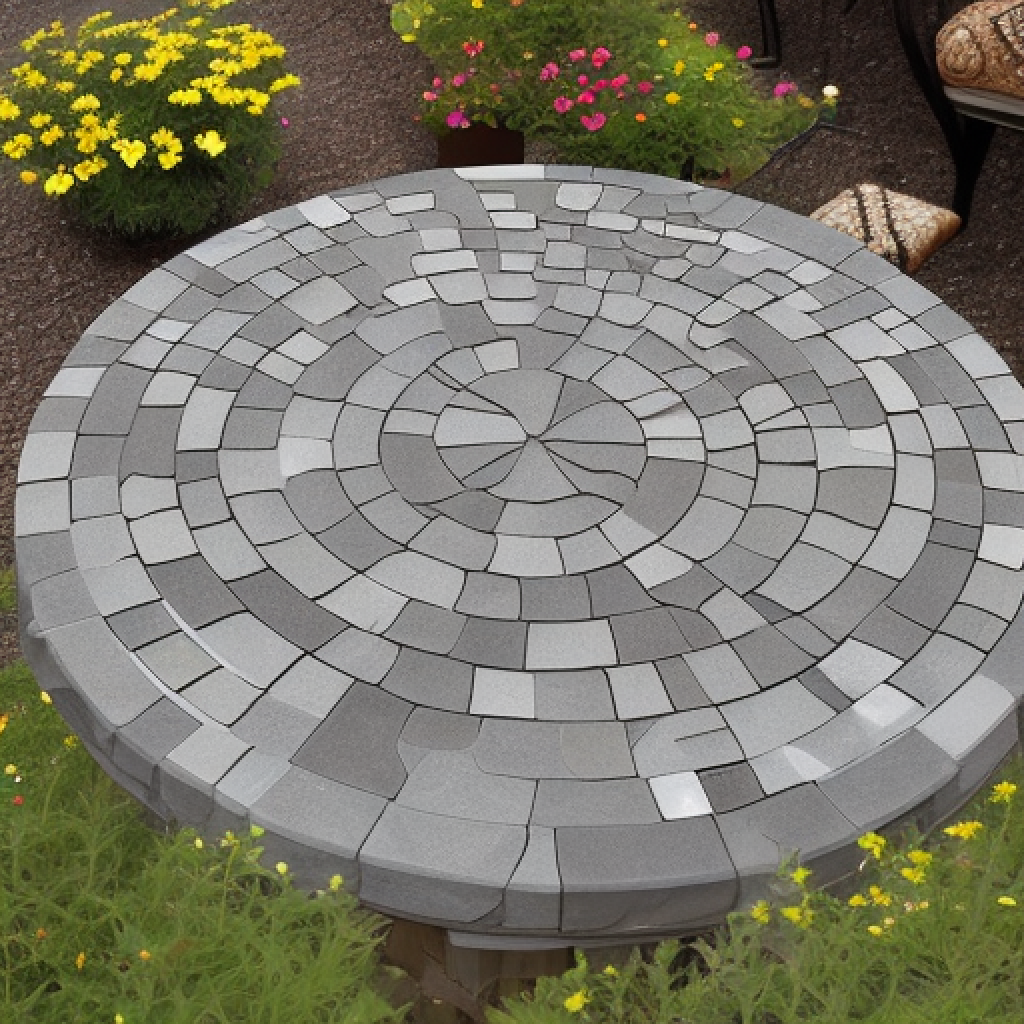
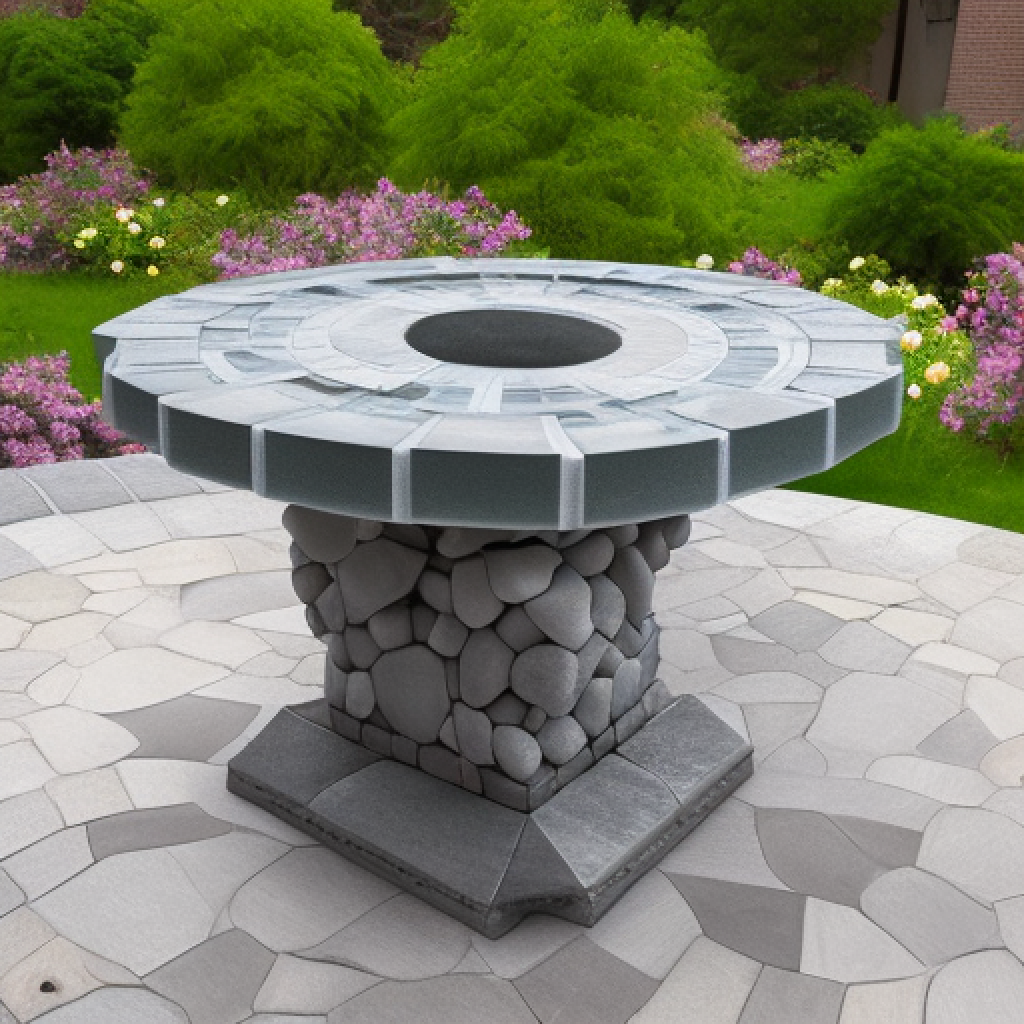
Creating an outdoor garden table using stone tiles can add a unique and charming touch to your backyard. Stone tables have been around for centuries and they are still popular today. Stone tables are known to be durable, sturdy, and long-lasting, which makes them perfect for outdoor use. They are also easy to maintain and clean. Stone tiles are available in different shapes, colors, and sizes, which gives you endless possibilities for designing your table. To create a stone table, you will need to first decide on the size and shape of the table you want. Once you have determined the size and shape, you can then choose the stone tiles you want to use. It is important to ensure that the stones are level and even before you begin the installation process. This will ensure that your table is stable and sturdy. To install the stone, you will need to use an adhesive that is designed for outdoor use. Apply the adhesive to each stone and press it firmly into place. You will also need to use spacers to ensure that the stones are evenly spaced apart. Once all the stones are in place, allow the adhesive to dry completely before moving on to the next step. To create a flat surface for your table, you can add a wooden or glass top. A wooden top will add a rustic and natural touch to your table, while a glass top will provide a modern and sleek look. When choosing a top, it is important to ensure that it fits the size of your table and is secure. To maintain your stone table, it is important to clean it regularly using a mild detergent and water. Avoid using harsh chemicals as they can damage the stones. You should also cover your table during harsh weather conditions to protect it from damage. In conclusion, a stone table can add a unique and charming touch to your outdoor space. With endless possibilities for design and a sturdy and durable structure, it is no wonder that stone tables have been around for centuries. By following the proper installation and maintenance processes, you can enjoy your stone table for years to come.
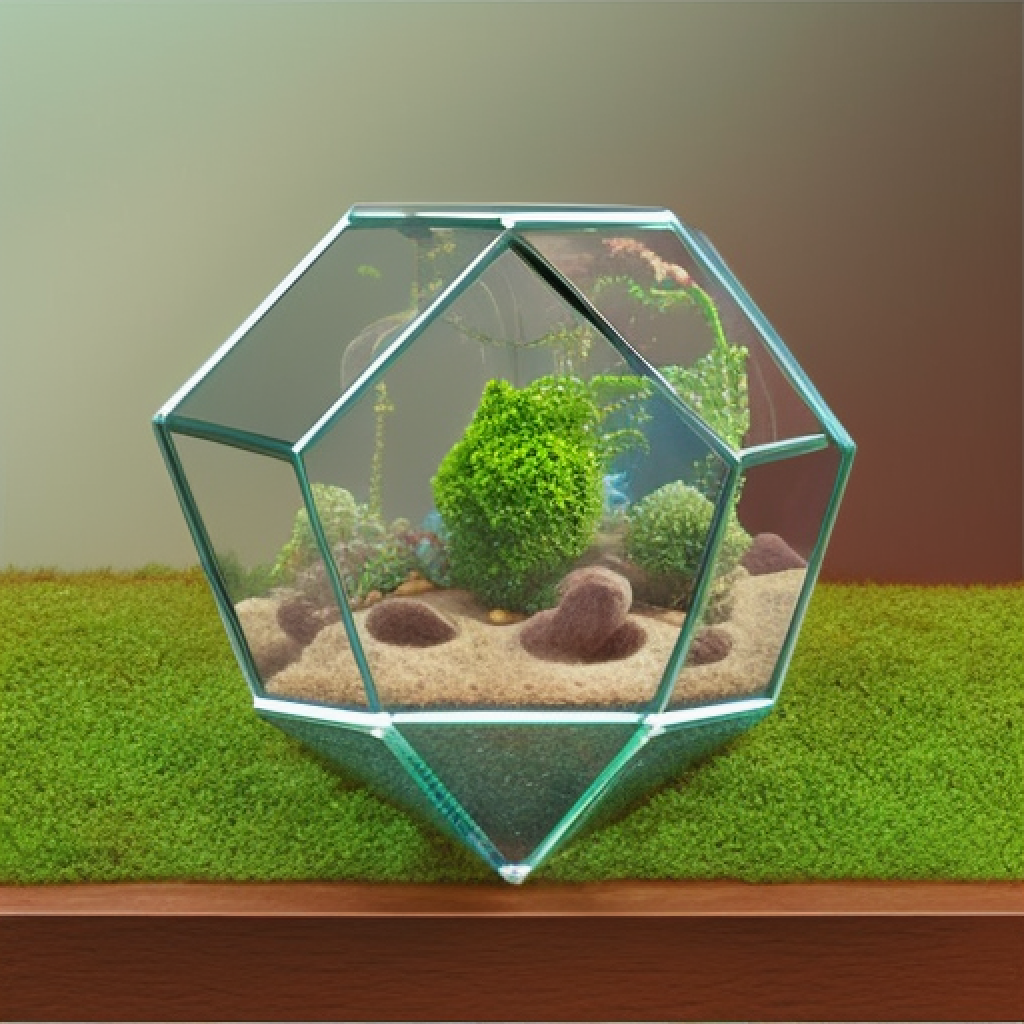
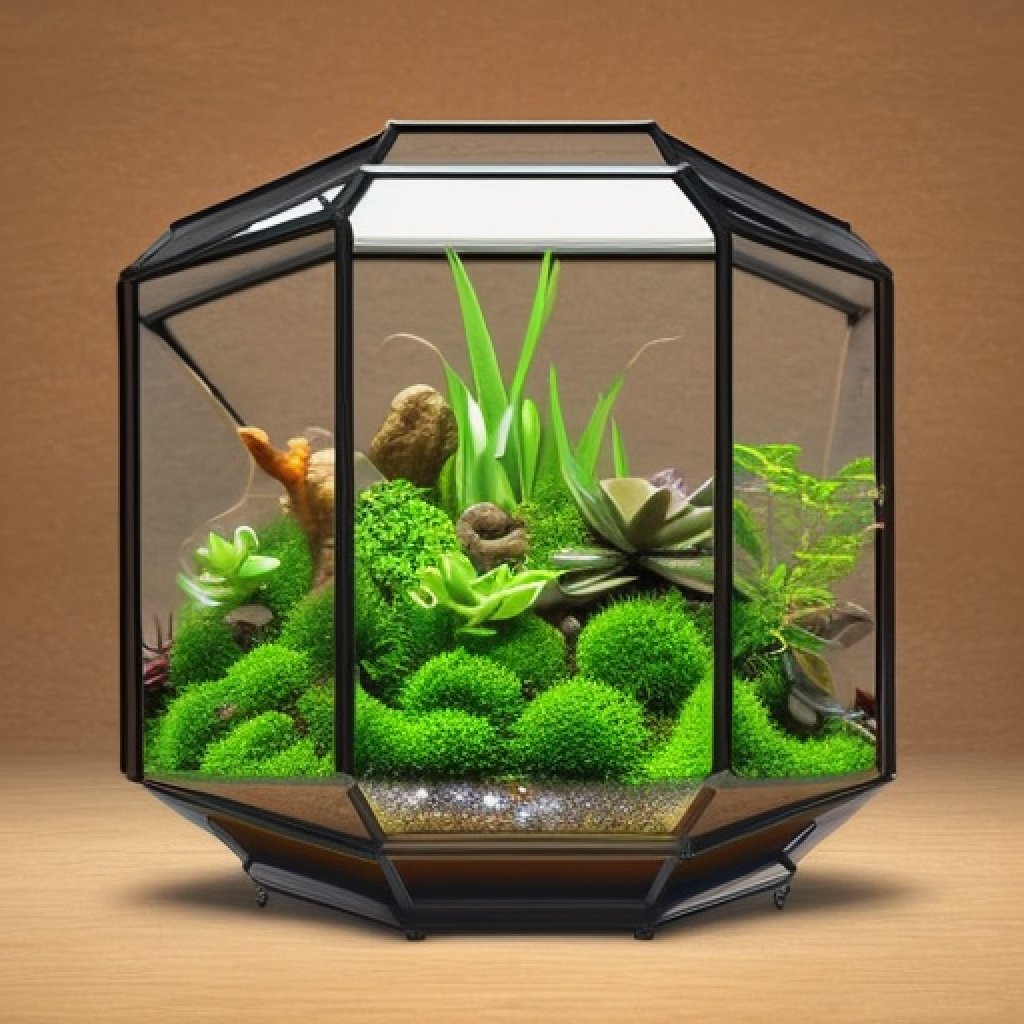
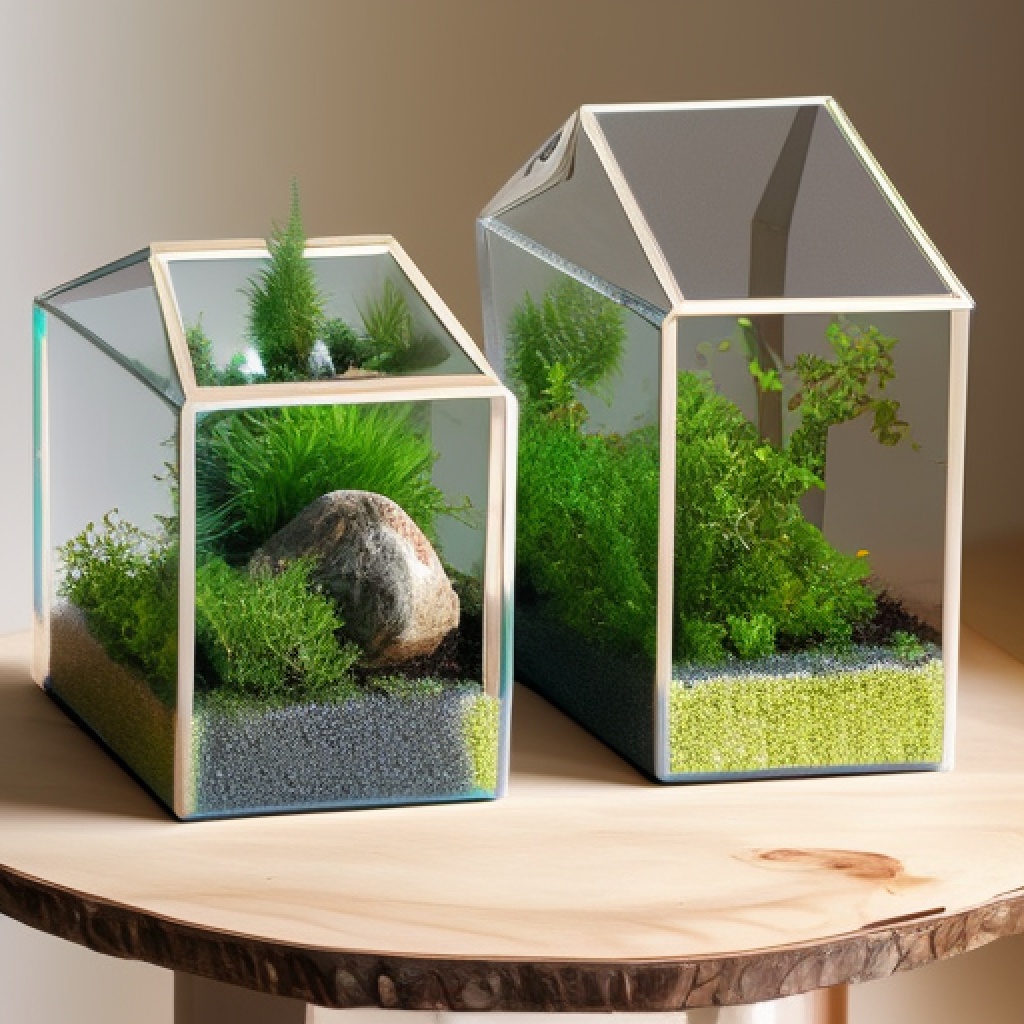
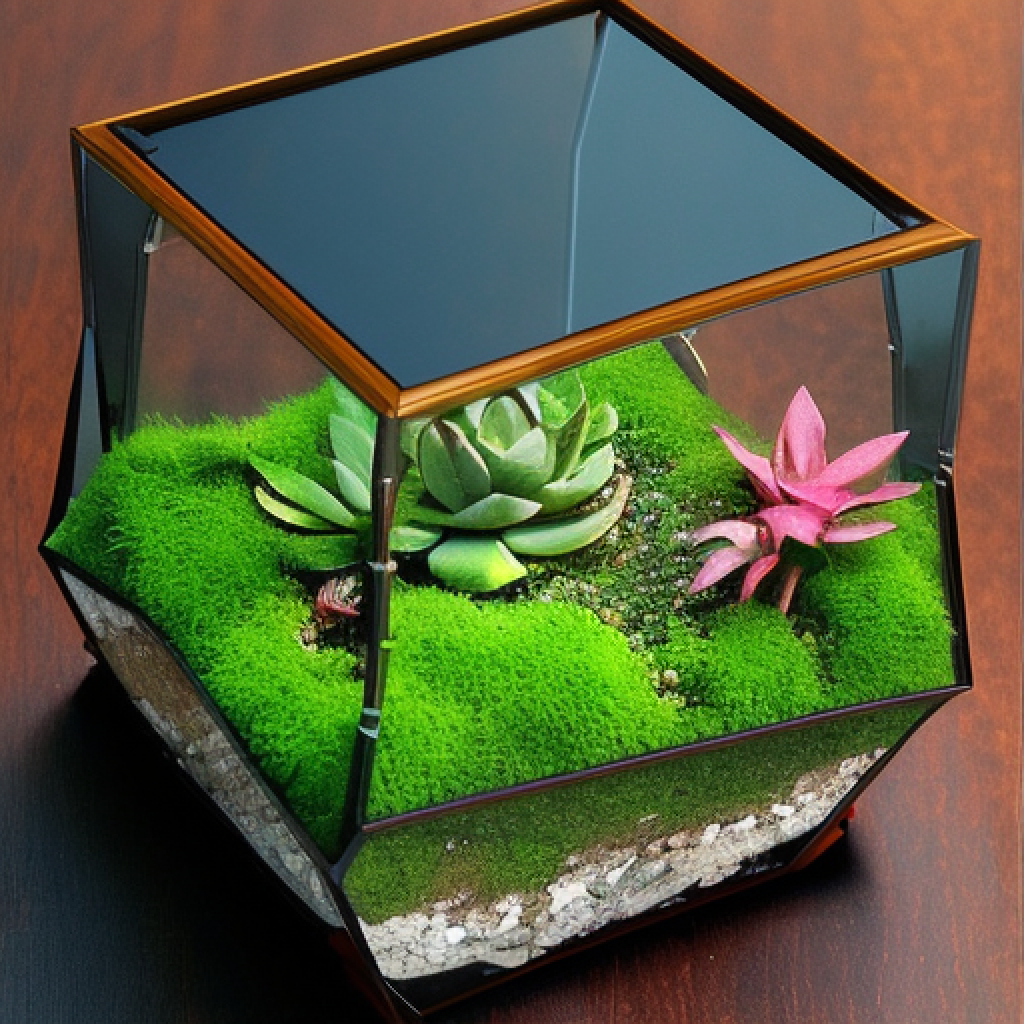
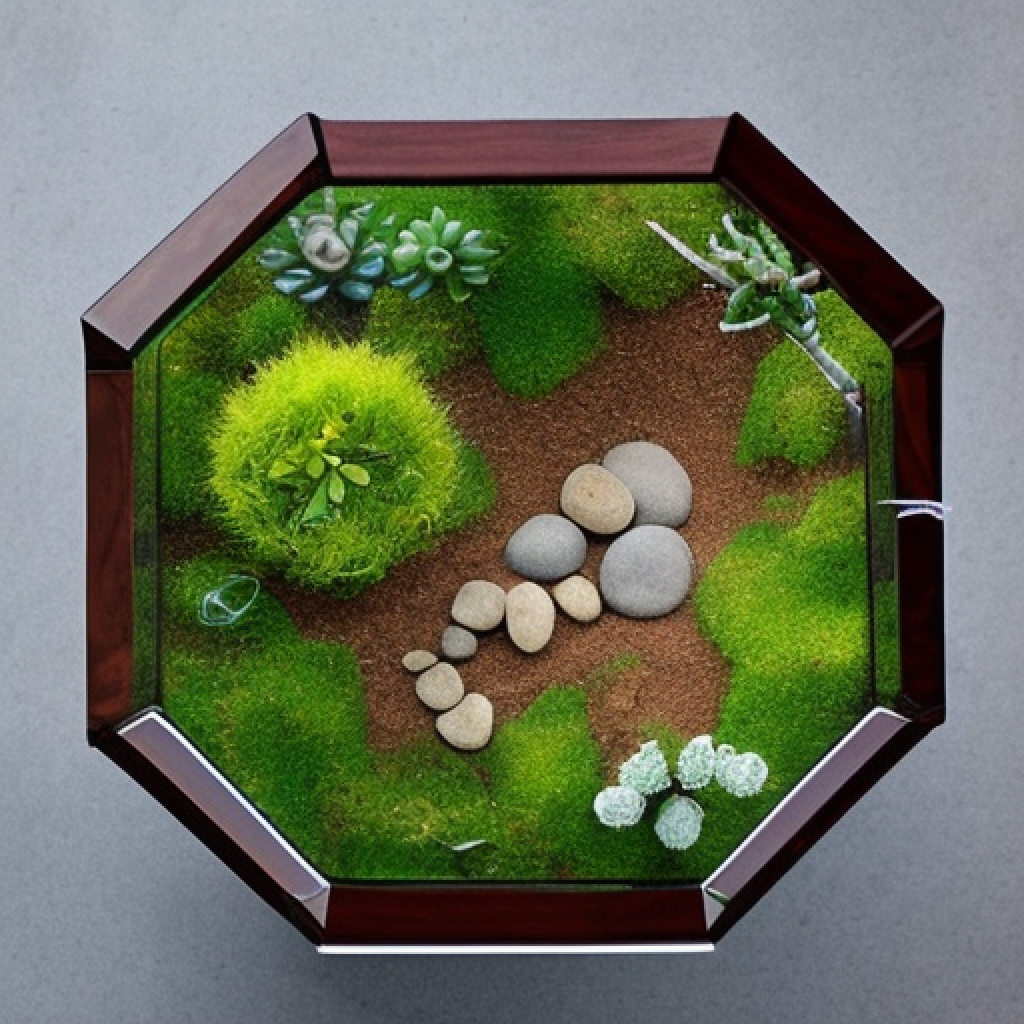
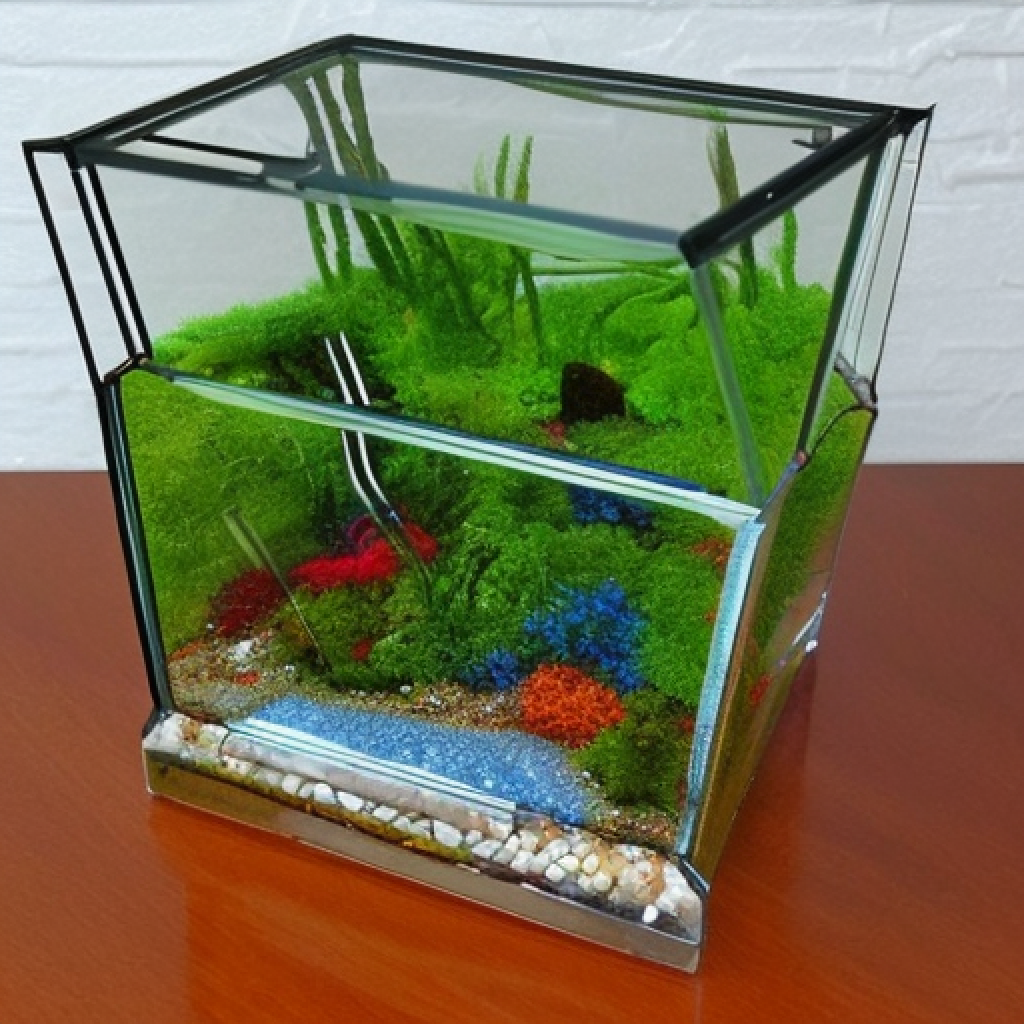
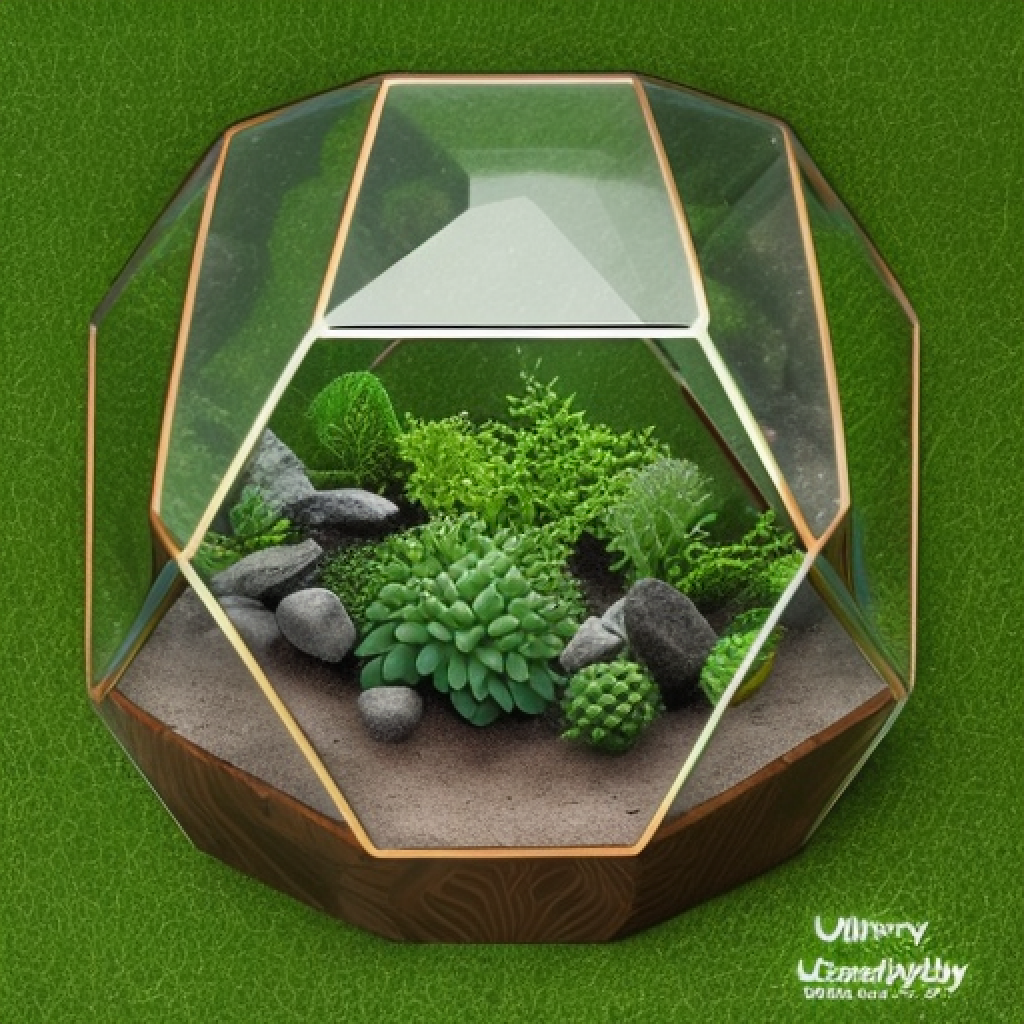
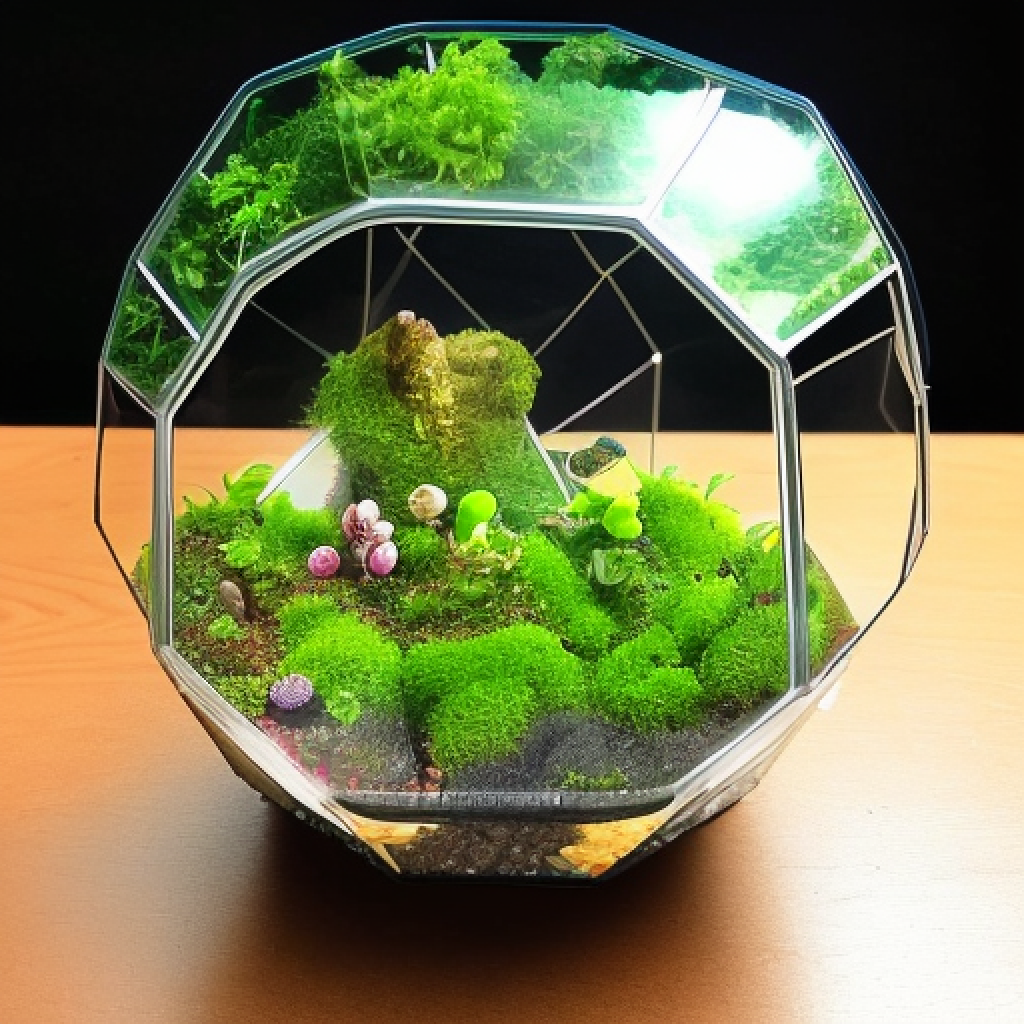
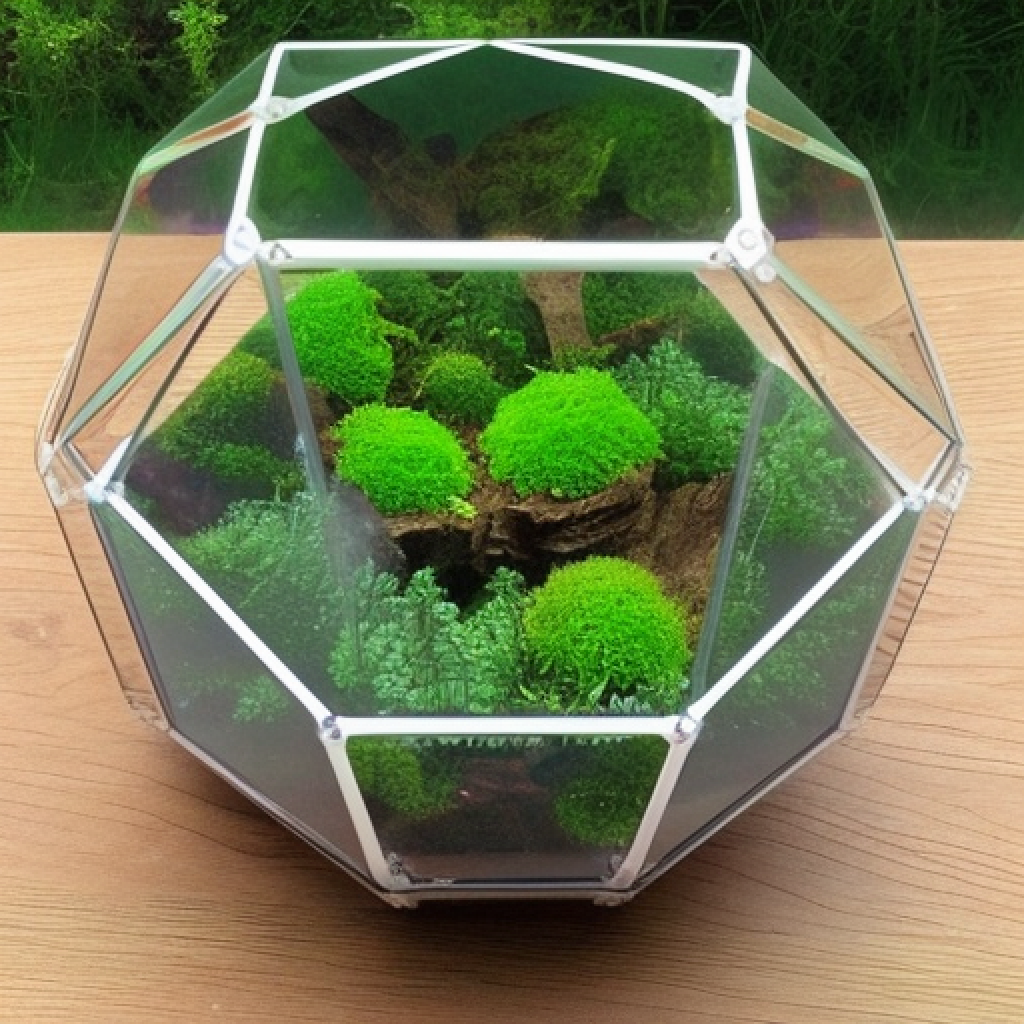
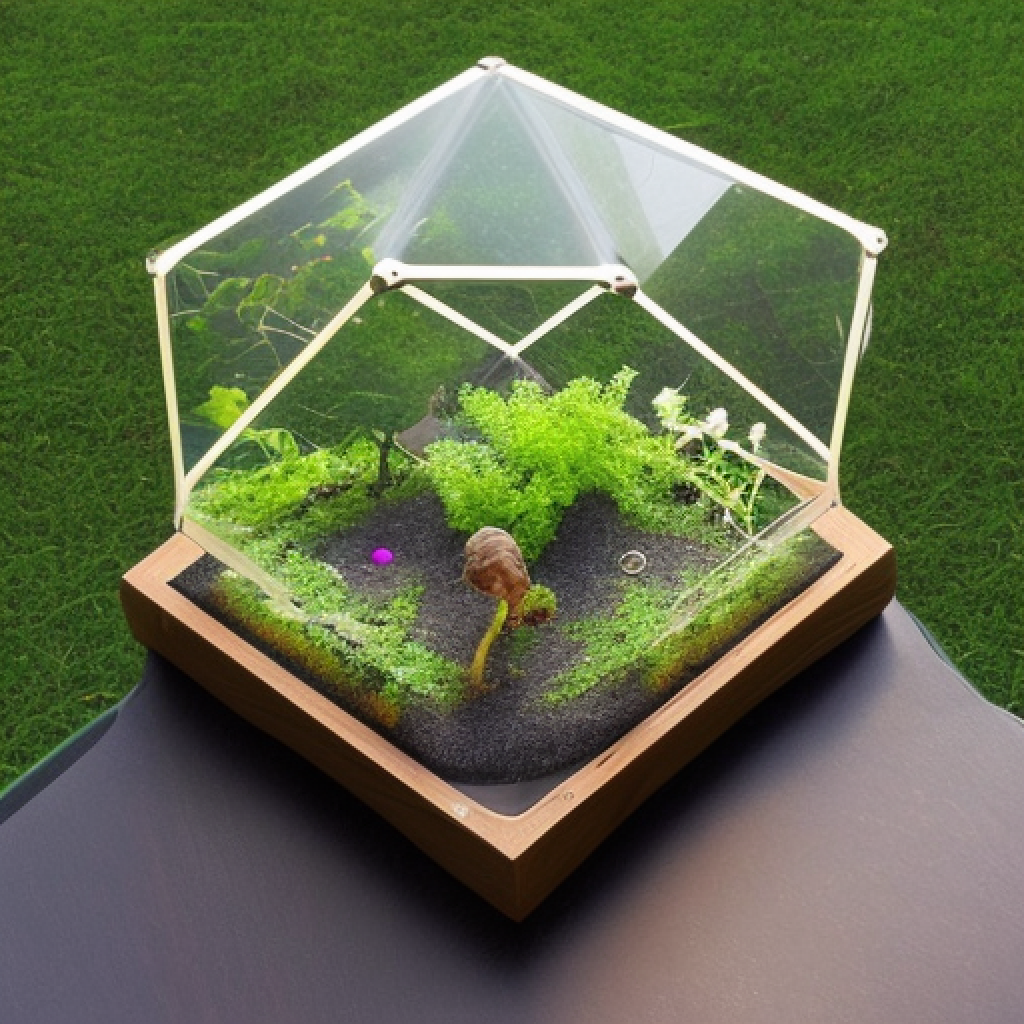
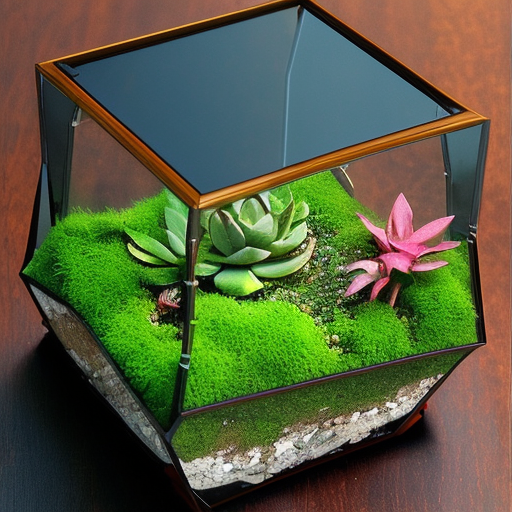
A terrarium table is not only an excellent conversation starter, but it can also be a beautiful addition to any outdoor space. These tables not only add a unique and decorative touch to your backyard or patio, but they also give you an opportunity to showcase your creativity and love for nature. When it comes to creating a terrarium table, there are countless options available. Wooden frames tend to give a more rustic and organic feel to the table, while metal frames can add a modern and sleek look. Depending on your personal preference, you can use a wide range of materials to build your frame, from reclaimed wood to wrought iron. Once you have your frame in place, it’s time to add the terrarium. You can choose any size or shape that suits your fancy, from a small glass globe to a large, elaborate terrarium with live plants and mosses. To create a striking focal point, consider adding LED lights inside the terrarium to create a magical and ethereal effect. The glass top is the final touch that brings the whole thing together. This helps protect the terrarium from the elements and creates a flat surface that is perfect for holding drinks, snacks or even small potted plants. If you’re not sure where to start, there are plenty of DIY tutorials available online that can guide you through the process of building your own terrarium table. You can also find inspiration in countless design blogs and social media platforms such as Pinterest and Instagram. Overall, a terrarium table is a fun and creative way to add a touch of nature to your outdoor space. It’s a great way to bring a bit of the great outdoors inside and create a unique and eye-catching piece of furniture that you can enjoy for years to come.
